

Any time is a good time to plan a painting project as part of your home improvement. It’s one of the cheapest home improvement options with the greatest effect. But painting will be easier and less stressful if you know your needs and the expected costs.
Whatever your reasons for repainting your home—be it faded paint, cracks, peeling, mold, or simply wanting a change—proper planning ensures your project’s success.
These are the things you need to do to plan your painting project:
Determine your needs
When planning, you need to have an answer to these questions:
- Is it an interior or exterior job? Decide whether your project is inside, outside, or both. Each has unique requirements and considerations.
- How many rooms/areas need to be painted? Assess the number of rooms or exterior areas that need painting. This helps estimate costs and time.
- How will it impact your regular household routine? Think about how the project will affect your daily life. Plan for disruptions and arrange the schedule to minimize inconvenience.
Prepare for the weather, especially for exterior projects
If you’re planning to paint the outside of your home, weather is a major factor. Ideal painting conditions are crucial for a smooth, lasting finish. Aim for temperatures between 50 to 95 degrees Fahrenheit. Too cold, and the paint won’t dry properly; too hot, and it may dry too quickly, leading to cracks or bubbles.
Check the weather forecast to avoid rain or high humidity, as these can also affect the drying process. By choosing the right time, you can prevent future surface problems like cracking and bubbling and ensure your paint job lasts longer.
Decide if you want to hire a professional or DIY
Deciding whether to hire a professional painter or tackle the project yourself depends on your skill level, time, and budget. Professionals bring expertise, efficiency, and quality results, saving you time and potential headaches. But if you’re skilled in painting and have the right tools at your disposal, then you will save more money through DIY.
When hiring, always check references and credentials. Ask for at least three to five references from recent jobs to ensure reliability and quality. On the other hand, if you enjoy hands-on projects and want to save money, a DIY approach can be rewarding. Just be sure you have the time, tools, and patience to do it right.
Get references
Now, if you choose to hire a professional, get references. Checking a painting contractor’s references is a surefire way to determine whether the contractor should be worth hiring or not. References give you an idea of how the painter does their job and deals with customers. The golden rule is to request the painting contractor at least three to five references for the painting project they have done for the past six months. If the contractor refuses to provide references, you should not consider them your house painter.
Get quotes
Getting an accurate quote is essential for budgeting your painting project. Even if you plan to paint in the summer, you can get estimates during any season. Many painters offer year-round consultations, allowing you to schedule your project in advance. This also gives you ample time to plan your finances and avoid last-minute expenses.
When getting quotes, ask for detailed breakdowns to understand the costs involved. This way, you can set aside the necessary funds and avoid any financial surprises during the project.
Choose paint and materials
Selecting the right paint and materials is a crucial step in your painting project. Start with the type of paint: latex paints are easy to clean and dry quickly, making them ideal for most interior projects. Oil-based paints are durable and great for high-traffic areas or exteriors.
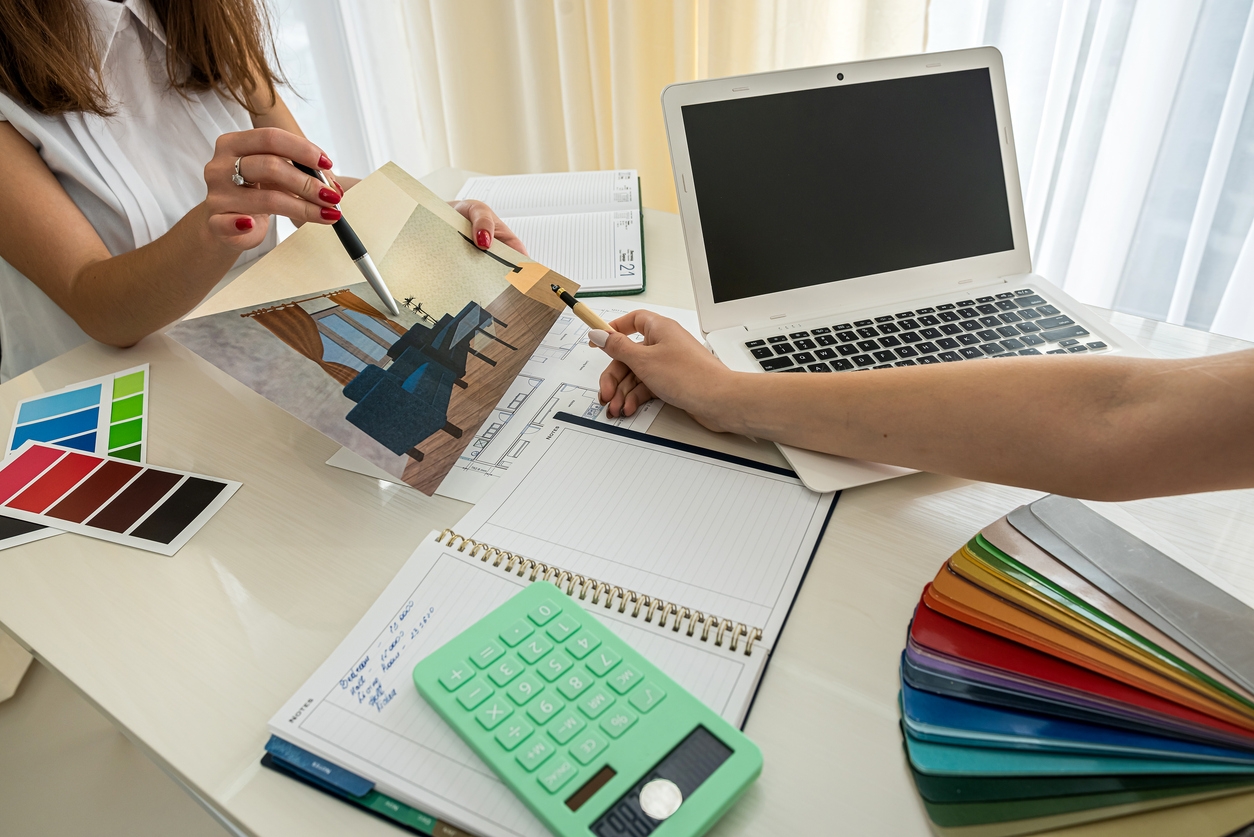
When it comes to colors, they can be overwhelming. Many paint stores offer free color consultations to help you choose the perfect shade or combination. Remember to gather all necessary supplies, such as brushes, rollers, painter’s tape, and drop cloths, to protect your furniture and floors.
Know the steps to preparing the walls
To properly plan your painting project, you need to know what to do first to prepare the walls and schedule the work within a reasonable timeline. Proper preparation is key to achieving a professional finish, so you must not skimp on it. Here are the appropriate steps to prepare the walls:
- Clean surfaces: Start by thoroughly cleaning the surfaces you plan to paint. Use a mild detergent and water to remove dust, dirt, grease, and other contaminants. This step is crucial as any residue left on the walls can prevent paint from adhering properly.
- Sand: Once the surfaces are clean, inspect them for rough patches or imperfections. Use sandpaper to smooth out these areas. Sanding levels the surface and provides a better grip for the primer and paint, ensuring a more durable finish.
- Apply primer: A primer creates a uniform base for your paint, helping it adhere better and providing a consistent color. Choose a primer suitable for your surface type—whether it’s drywall, wood, or metal. Apply the primer in even strokes and allow it to dry completely before moving on to painting.
- Protect furniture and floors: To prevent paint splatters, cover your furniture and floors with drop cloths or plastic sheeting. Use painter’s tape to cover edges, trim, and any areas you don’t want painted.
- Fix holes and cracks: Fill in any holes, cracks, or dents with spackle or a similar filler. Once dry, sand these areas until smooth. This ensures a flawless finish and prevents imperfections from showing through the paint.
- Remove hardware: Remove or cover any hardware, such as light switch covers, outlet plates, and doorknobs, to avoid getting paint on them.
- Ensure ventilation: Proper ventilation is essential, especially when using strong-smelling primers or oil-based paints. Open windows and use fans to keep the air circulating and help the paint dry quickly and evenly.
Execute the project
When it’s time to paint, having a plan will keep things running smoothly. Follow these steps for a professional-looking finish:
- Test patch: Start by painting a small test patch to ensure the color and finish are what you want. This step can save you from making costly mistakes if the color doesn’t look as expected once it’s on the wall.
- Follow proper painting techniques: Begin by cutting in the edges with a brush. This involves painting the corners and edges where the roller can’t reach, ensuring a neat edge. After cutting in, use a roller to fill in the larger areas. Roll in a “W” or “M” pattern to ensure even coverage and avoid streaks.
- Apply thin coats: Apply the paint in thin, even coats. It’s better to apply multiple thin layers than one thick one, as thick layers can lead to drips and uneven drying. Allow each coat to dry completely before applying the next one. This might require patience, but it’s crucial for a smooth finish.
- Manage time: Break the project into manageable sections, especially if you’re working on a large area. This helps you stay organized and prevents fatigue. Plan your work to finish one section before moving on to the next.
- Observe safety measures: Ensure safety by keeping your workspace well-ventilated and free from obstructions. Use ladders safely and wear protective gear, such as gloves and masks, if working with strong-smelling or potentially hazardous materials.
Conclusion
Planning a painting project can seem overwhelming, but with careful preparation and the right approach, you can achieve beautiful results with minimal stress. Following these planning tips, you’re well on your way to a successful painting project.
If you prefer professional assistance, consider hiring Custom Painting, Inc. Our experienced team can handle all aspects of your painting project, ensuring a high-quality finish. Contact us today or call us at 925-294-8062 for a consultation, and let us bring your vision to life!
