
The simplest ways to refresh the interior paint of your Livermore home is through careful planning and reaching out to painting professionals for assistance. Whether planning a complete home makeover or just wanting to brighten up a single room, getting a flawless finish can make all the difference. Let’s walk you through some practical tips to help you achieve a professional look—even if you’re doing the job yourself.
Start with Proper Preparation
Before you pick up a paintbrush, cleaning your walls, ceilings, and trim is crucial. Dust, dirt, and grime can prevent paint from adhering properly, leading to a less-than-perfect finish. Use a lint-free cloth and a mild detergent to wipe down the surfaces. This simple step makes a big difference in how smooth and even your paint job turns out.
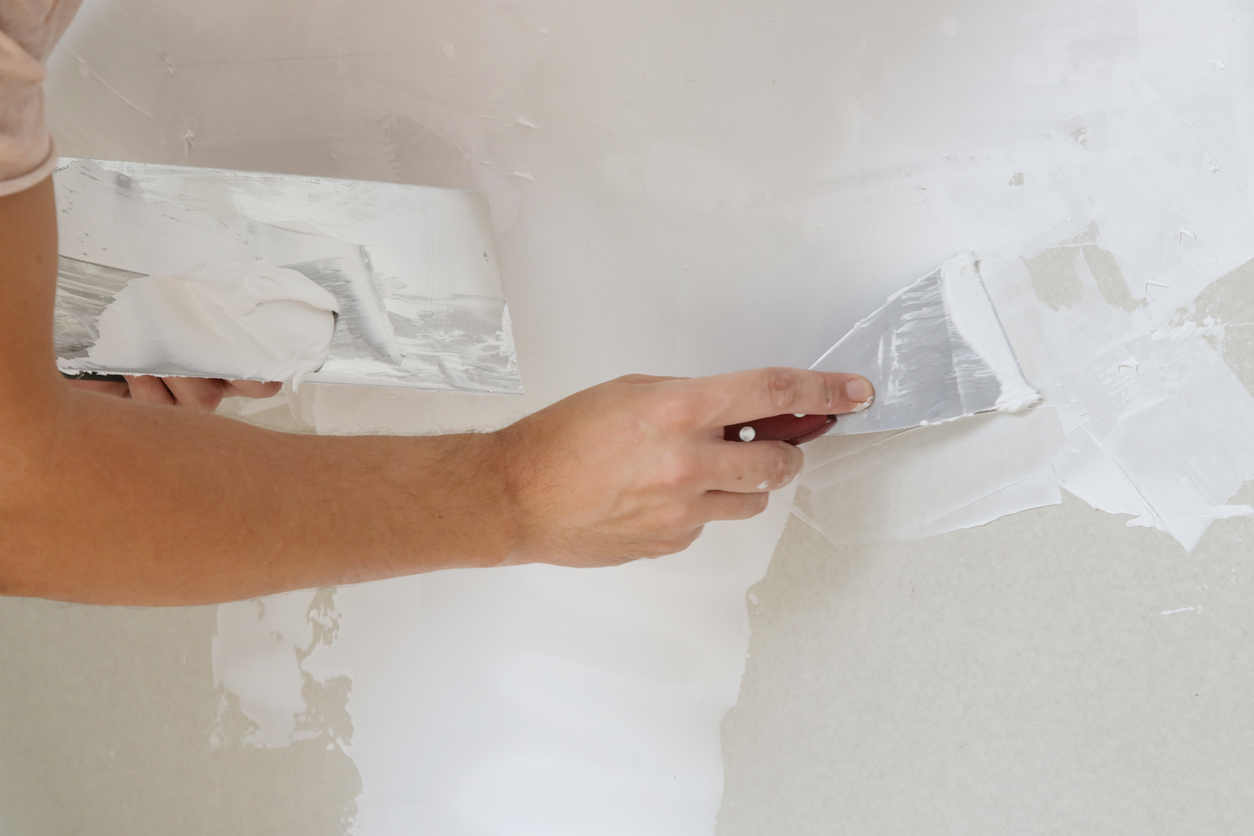
Also, with preparation comes potential repairs. Look for any cracks, holes, or bumps on your walls and fix them before painting. Use spackle or putty to fill in gaps, then sand the area until it’s smooth. This creates a flawless base for your paint, helping you achieve that professional finish.
Use Painter’s Tape Correctly
Painter’s tape is made specifically for painting materials and structures. It is easy to apply and peel. Unlike other adhesive tapes, painter’s tape doesn’t shrink. It usually comes in the standard blue color, which is sometimes called blue tape, but it’s also available in other colors.
However, not all painter’s tape is the same. Some are better for delicate surfaces, while others are stronger for rougher areas. Make sure to pick the right type for the job.
When applying painter’s tape, take your time. Do not rush – putting in the effort will save you from future headaches. Press it down firmly with a putty knife to ensure it’s sealed tight and has no paint seeping underneath.
Once you’re done painting, don’t wait too long to remove the tape. Peel it off gently just before the paint fully dries to avoid removing any fresh paint.
Apply the Correct Primer
You’ve probably heard that you can skip the primer and go straight to painting. Priming is not necessary for every paint job, but there are instances where it is required, especially when you’re working with new drywall or switching from a dark color to a lighter one. It helps the paint adhere better and creates a uniform base.
These are the main types of primer:
- Water-Based Primer: Ideal for most interior walls, water-based primers are easy to clean up and dry quickly. They’re perfect for drywall, plaster, and previously painted surfaces. They also have low odor and fewer volatile organic compounds (VOCs), making them a good choice for indoor use.
- Oil-Based Primer: Oil-based primers are great for blocking stains, such as water damage or smoke. They’re also the go-to choice for painting over wood, metal, or surfaces with heavy textures. While they take longer to dry and have a stronger odor, they provide excellent adhesion and durability.
- Shellac Primer: Though less common, shellac primers are excellent for blocking severe stains, including water, smoke, and odors. They dry quickly and are typically used for spot-priming rather than covering entire walls.
One coat of primer is usually enough, but you might need two for textured surfaces or big color changes. Make sure to let it dry completely before painting.
Choose the Right Tools for the Job
Using high-quality synthetic brushes is key to getting a smooth finish. For water-based paints, go for synthetic paint brushes with soft filaments, such as a poly-nylon paint brush, for minimal to zero brush marks. They help minimize brush marks and make your paint job look professional.
Also, the right roller cover makes all the difference. For smooth walls, choose a short-nap roller with a fine material; for textured surfaces, go with a thicker one. Higher-quality rollers won’t shed lint, so you’ll avoid those annoying little bumps and streaks in your finish.
Master the Technique
Always keep a “wet edge” as you paint to avoid those unsightly lap marks. This means working quickly and slightly overlapping each stroke with the last while the paint is still wet. Paints with moderate-to-high gloss are more prone to overlap marks. Thus, you want to pay close attention to maintaining a wet edge. But if you’re using flat matte paint, there’s a small likelihood of creating such marks.
Here’s a handy tip—drill a few holes in your paint stirrer. This allows the paint to mix more evenly, ensuring a consistent color and texture throughout your project. It’s a small trick that makes a big difference!
Maintain Clean Tools
If your brushes or rollers have dried paint on them, don’t expect a smooth and spotless finish. After you use them for your painting project, make sure to clean them right away so you can still use them in the future.
For latex paints, rinse your brushes and rollers with hot water and a bit of gentle detergent. You’ll need to use solvents like turpentine or mineral spirits for oil-based paints. Soak the tools, work off the paint, then rinse and let them dry completely.
Between coats, wrap your brushes and rollers in plastic wrap or foil to prevent drying out. After you’re done, store them properly so they’re ready for your next project.
Ensure Proper Ventilation
Good ventilation is key when painting. It helps the paint dry faster and prevents fumes from building up, which is especially important in smaller spaces. Open windows and doors, and use fans to keep air circulating if possible. This speeds up the drying process and ensures a smoother finish by preventing moisture from getting trapped in the paint. Proper airflow makes your painting project safer and more comfortable.
Test Paint Colors
Before committing to a full room, it’s a good idea to test your paint colors on a small area. Paint can look different once it’s on the wall and dry compared to it in the can or on a swatch. Try out a few colors on your wall and see how they look in different lighting throughout the day. This helps you avoid surprises and ensures you’ll be happy with the final result.
Apply Two Coats for Best Results
Applying two coats of paint often gives you the best finish. The first coat might not cover everything perfectly, especially if you paint over a darker color. The second coat ensures a smooth, even look and deepens the color. It’s especially important when you’re using lighter colors or bold shades. While it might take a bit more time, the result will be worth it—a richer, more professional-looking finish that lasts longer.
Conclusion
Paying attention to the little details is what makes all the difference when painting. From prepping surfaces to choosing the right tools and techniques, these steps ensure a professional, polished finish you’ll love.
For a truly flawless interior finish, consider hiring the experts at Custom Painting, Inc. They have the skills and experience to make your home look its best and take the stress out of your next paint job. Contact us at 925-294-8062 or fill out our contact form and let us help you get started on your interior painting project.
