

How do you care for one of your best investments – your home? Owning a house means not just financial responsibility but also maintaining its appearance and structural integrity. House painting is one of the easiest and most cost-effective ways to achieve this.
A paint job that’s correctly done can restore and even enhance your home’s appearance, increase its property value, and help you sell it quickly in the future. Whether you choose to go the DIY route or hire a professional, proper planning is essential before starting the work.
Here are the steps to planning your house painting job:
Prepare Your Home for Painting
Proper preparation is key to achieving a professional finish before you start painting. Here’s a detailed guide to help you get started.
Interior Prep:
- Clean surfaces: Dust, dirt, and grease can prevent paint from adhering properly. Use a mild detergent and water to clean the walls and ceilings. For tougher stains, a mixture of water, vinegar, or a commercial cleaner might be necessary.
- Repair damage: Inspect your walls for cracks, holes, or any imperfections. Use spackle or filler to fix these areas. Once the filler is dry, sand it smooth to ensure a seamless surface.
- Sand surfaces: Sanding is crucial for removing old paint flakes and creating a smooth surface for new paint. Use fine-grit sandpaper for best results.
- Prime walls: Priming is essential, especially if you’re painting over a dark color or a surface with stains. Primer helps the paint adhere better and ensures an even finish. Apply a coat of primer and let it dry completely before painting.
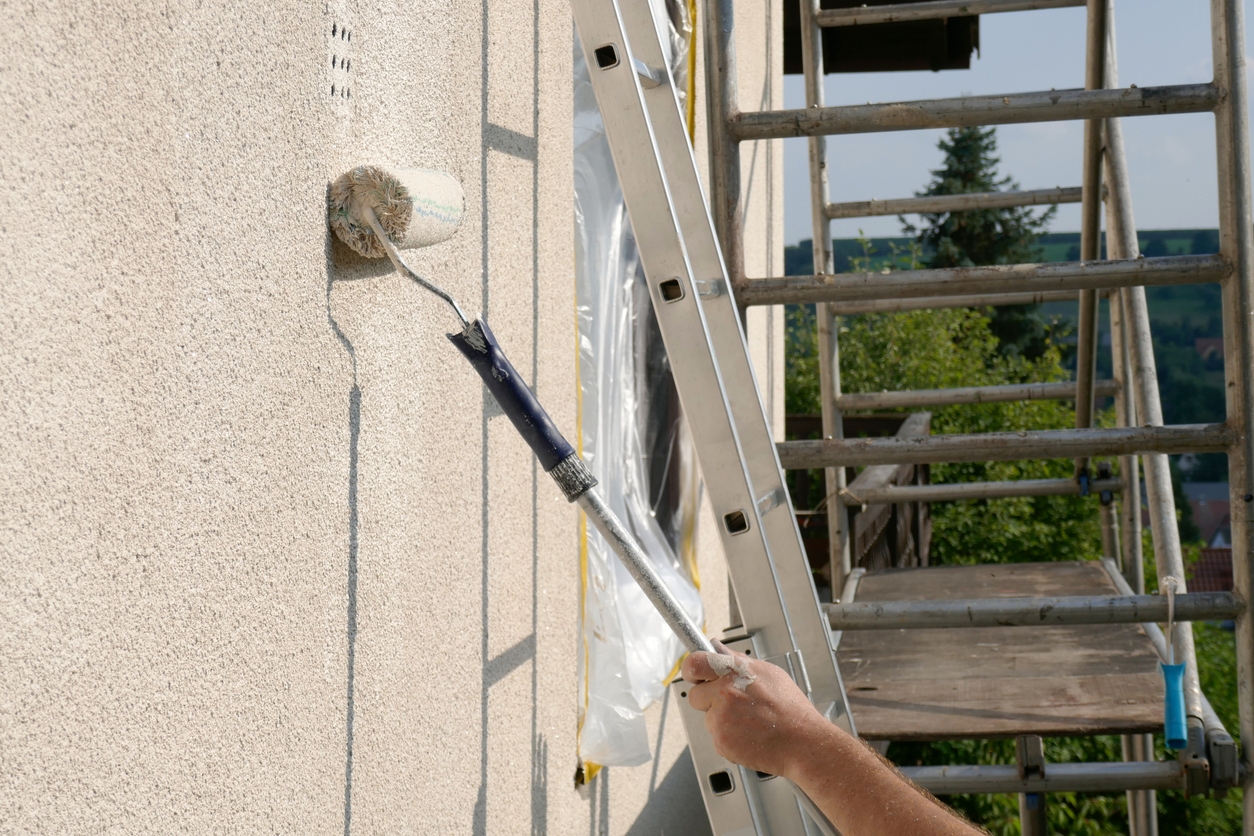
Exterior Prep:
- Wash the exterior: Dirt, mildew, and old paint can prevent new paint from sticking. Use a power washer to clean the exterior walls thoroughly. Be sure to let the surface dry completely before proceeding.
- Repair damage: Check for any cracks, holes, or damaged areas. Use an exterior-grade filler or patching compound to fix these issues. Larger holes or cracks may require professional repair.
- Scrape and sand: Use a scraper or wire brush to remove loose or peeling paint. Sand the edges of the remaining paint to create a smooth transition between bare and painted areas.
- Prime surfaces: Applying a primer to exterior surfaces is crucial for protecting the material underneath and ensuring the paint lasts longer. Use a primer suited for outdoor use and allow it to dry fully.
Gather the Tools and Materials Needed
When planning, list all the tools and materials you need before going to the hardware store. This way, you can avoid having multiple trips back to the shop for more. It’s better to have excess paint than be short of it – you don’t want to leave a wall incomplete while you’re still off to the store to buy more. Because when the paint already dries, and you’re still not finished with a surface, it will leave visible markings even if you continue with the same color to finish the area.
Also, make sure to invest in the highest quality tools (brushes, rollers, etc.) you can afford. Going for cheap ones may produce shoddy results.
Interior:
- Drop cloths: Protect your floors and furniture from paint spills.
- Painter’s tape: Use to mask off areas you don’t want to paint, like trim and windows.
- Brushes and rollers: Choose high-quality ones to achieve a smooth finish.
- Sandpaper: Fine-grit sandpaper works well for smoothing surfaces.
- Spackle/filler and putty knife: Necessary for repairing holes and cracks.
- Primer and paint: Select the appropriate primer and paint for your interior surfaces.
Exterior:
- Power washer: Essential for cleaning exterior surfaces.
- Scrapers and wire brushes: Use to remove loose paint.
- Exterior filler/patching compound: Fixes cracks and holes.
- Sandpaper or power sander: Smooth surfaces for better paint adherence.
- Primer and exterior paint: Choose weather-resistant primer and paint for durability.
- Protective gear: Use gloves, safety glasses, and masks.
Choose a Painting Method
When painting your home, choosing the right method can make a big difference in the final result. You have three options: brushing, rolling, and spraying. You can choose to use rollers for painting and supplement it with brushing when dealing with edges and corners, or use spraying equipment.
1. Brushing
Paint brushes are typically used for small jobs that need careful control and when doing touch-ups when finalizing a paint job. It’s also perfect for painting trim, molding, and small, detailed areas where precision is needed.
Pros:
- Excellent for detailed work and small areas
- Provides good control, allowing you to paint edges and corners precisely
- Ideal for touch-ups and hard-to-reach places
Cons:
- Time-consuming, especially for large surfaces
- Can leave brush marks if not done properly
2. Rolling
Rolling is best for painting large, flat surfaces like walls and ceilings inside your home. It’s also suitable when you want to quickly cover a large area with minimal waste.
Pros:
- Covers large areas quickly
- Provides a smooth, even finish
- Great for walls and ceilings
Cons:
- Not suitable for intricate details or small spaces
- Can result in roller marks if not used correctly
3. Spraying
Because of its nature, spray painting is best used for exterior painting projects where you need to cover large surfaces quickly and when painting new constructions or renovations where there is less concern about overspray on existing finishes.
Before spraying exterior surfaces, always check weather first if it’s not too windy or humid, because you may risk overspray when the wind carries the paint mist away instead of landing on the surface you want to paint.
Pros:
- Fastest method for covering large areas
- Produces a very smooth, even finish
- Ideal for exterior surfaces and new construction
Cons:
- Requires more preparation and masking to protect surrounding areas
- Can be wasteful and messy if not handled properly
- Needs specialized equipment and skill to achieve a professional result
Step-by-Step Guide for Interior Painting
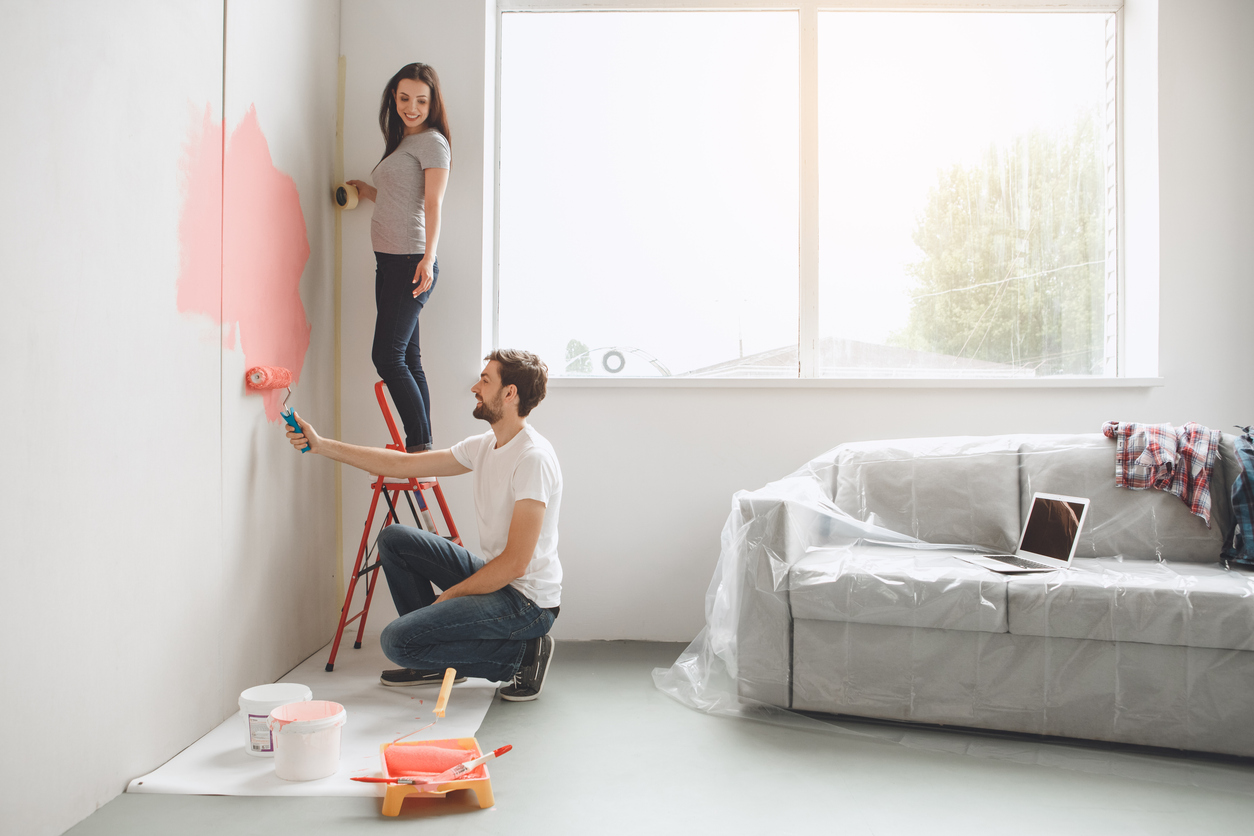
- Prepare the room. Move furniture and cover floors with drop cloths. Remove outlet covers and switch plates. This is a necessary step to prevent having paint in unwanted areas.
- Clean and repair surfaces. To make the paint stick to the walls better, make sure it’s clean and smooth. Wash walls to remove dust and grime. If there are any holes and cracks, fill it with spackle, then sand smooth.
- Tape and protect. Use painter’s tape to mask off trim, windows, and edges.
- Prime the walls. Apply primer to ensure a smooth base for the paint.
- Paint the edges. Use a brush to paint along the edges and corners.
- Roll the walls. Use a roller to paint large areas. Start at the top and work down, using a “W” pattern for even coverage.
- Apply additional coats. Let the first coat dry completely, then apply additional coats as needed for full coverage.
- Clean up. Once you’re done, you can remove the painter’s tape and replace the outlet covers. Clean your brushes and rollers to keep them usable for your next painting project.
Step-by-Step Guide for Exterior Painting
- Clean the exterior. Use a power washer to remove dirt and loose paint.
- Repair and sand. Same as with the interiors, fill cracks and holes with exterior filler. Sand rough areas and edges of old paint.
- Protect surroundings. Cover plants, windows, and fixtures with drop cloths and painter’s tape.
- Prime the surface. Apply exterior primer to bare wood and repaired areas.
- Paint the edges and trim. Use a brush to paint edges, corners, and trim for even coverage. Since the rollers and sprayers cannot reach all surfaces, you need to have a paintbrush ready.
- Paint the large areas. Use a roller or paint sprayer for large surfaces. Work in sections, starting at the top and moving downward.
- Apply additional coats. Allow the first coat to dry, then apply additional coats for a uniform finish.
- Final touches and clean up. Remove tape and coverings. Clean brushes and tools, and dispose of any waste properly.
Conclusion
Taking on a house painting project is a great way to enhance the beauty and value of your home. We’ve covered the essentials, from preparing your surfaces and choosing the right painting method to detailed painting techniques for both interiors and exteriors. Proper preparation, technique, and execution are key to achieving a professional finish.
While DIY painting can be rewarding, hiring professional painters ensures high-quality results and saves you time and effort. Professionals like Custom Painting, Inc. can bring expertise, efficiency, and the right tools to handle any painting job with ease. Call us today at 925-294-8062 or fill out our contact form to schedule a consultation and get a free estimate.
