
Introduction
Homeowners often encounter a variety of stains on walls and ceilings (such as water stains, smoke stains, and grease) that can detract from the aesthetic of their homes and even impact the longevity of the building materials. Addressing these stains effectively involves cleaning techniques, selecting the correct type of paint, and painting techniques to ensure a lasting, clean finish.
Homeowners can achieve a clean and refreshed look that lasts by understanding the nature of these stains, preparing the surfaces adequately, and using the correct paints and proper paint applications.
Understanding stains and their challenges
Stains on walls and ceilings can originate from various sources, each affecting the surface in distinct ways and posing unique challenges when covering or removing them. Addressing these stains properly often involves identifying their source, understanding their impact on different surfaces, and taking steps to solve the underlying issue before applying new paint or treatments.
- Water damage—Water stains are often yellowish or brownish and appear when water seeps through the material due to leaks, condensation, or high humidity. If not properly addressed, these stains can cause paint to peel or bubble and may lead to mold growth. Water stains are particularly challenging on porous surfaces like drywall, as the material absorbs water, spreading the stain and damage.
- Mold and mildew—Because they thrive in moist environments, mold and mildew appear as black, green, or grey spots. These biological stains can penetrate surfaces deeply, making them hard to cover. On painted surfaces, mold not only discolors the paint but can also break down the integrity of the paint film, necessitating thorough cleaning and often the use of a mold-inhibiting primer before repainting.
- Smoke and soot—Soot and smoke from candles, fireplaces, or tobacco use create dark or greasy stains. These stains adhere strongly to surfaces and can be oily, complicating the cleaning process. Specialized cleaning solutions and primers designed for blocking stains are typically required to cover these stains effectively.
- Nicotine – Nicotine stains manifest as yellowish or brownish discolorations that can seep through layers of paint. Like soot, they are stubbornly adhesive and can emit a lingering odor. Covering nicotine stains usually requires thorough washing and the application of an odor-sealing primer.
- Grease and cooking oils – Common in kitchens, grease stains are sticky and can attract more dirt if not cleaned. These stains can be slick, affecting how well the new paint adheres to the surface. A degreaser and a primer that seals and provides a good base for paint are recommended before repainting.
- Rust—Rust stains come from metal components like nails or fasteners and are recognizable by their reddish-brown color. If rust affects the integrity of metal supports, it can cause structural damage. Treating the rust and using a rust-inhibiting primer can prevent the stain from bleeding through new paint.
Importance of addressing underlying problems
Before attempting to cover any stain, it is crucial to address the underlying problem causing the stain. For example, if a water leak is causing staining, simply painting over the stain will not stop future damage; the leak must be fixed first. Ignoring the root cause can lead to further surface deterioration and potentially more extensive repairs later. Moreover, some stains, particularly those caused by biological factors like mold, can pose health risks if not properly eradicated.
Additionally, certain stains can affect the adhesion and longevity of new paint applications. Surfaces must be properly prepared by cleaning, using appropriate primers, or even physically altering the surface (such as sanding) to ensure that the new paint adheres well and that the stains do not bleed through.
While covering stains seems a straightforward task, it involves careful consideration of the type of stain, the nature of the surface, and the overall condition of the underlying material. Proper treatment not only improves appearance but also contributes to the longevity and safety of the space.
Types of paints designed to cover stains

- Stain-blocking primer—This isn’t technically a paint, but it’s essential for covering stains before painting. It’s designed to prevent stains from bleeding through the new paint layer. Stain-blocking primers are available in oil-based and water-based formulations.
- Oil-based paints – Oil-based paints are known for their excellent stain-blocking properties. They form a tough, impermeable barrier that effectively covers stains such as watermarks, nicotine, and grease.
- Shellac-based paints – Shellac-based paints, often sold as shellac primers, are highly effective at covering stains, including water stains, smoke damage, and even knots in wood. They dry quickly and provide a durable finish.
- Acrylic-based paints – Acrylic paints, particularly those formulated as high-quality stain-blocking paints, can effectively cover many stains. They dry quickly, emit fewer fumes than oil-based paints, and are easier to clean up with water.
- Specialized stain-blocking paints—Some paint brands offer specialized stain-blocking paints designed to cover specific types of stains, such as water stains, smoke damage, or tannin bleed from wood. These paints often incorporate advanced technology to provide superior stain coverage.
Selecting the right paint for your stain
The best type of paint based on the stain’s nature
Choosing the right type of paint for different stains and surfaces is crucial for effective and long-lasting results. Here’s a guide to help you make the best choice:
1. Water stains
- Water stains on ceilings or walls, especially if they’re caused by leaks or condensation, should be treated with a stain-blocking primer first. Look for an oil-based or shellac-based primer, as these are effective at sealing water stains and preventing them from bleeding through.
- After priming, you can use high-quality latex or acrylic paint for the topcoat. These paints are durable and resistant to moisture, which helps prevent future water damage.
2. Grease stains
- Grease stains on walls or kitchen cabinets require thorough cleaning before painting. Use a degreaser or a mixture of warm water and mild detergent to clean the surface.
- Once the surface is clean and dry, apply a stain-blocking primer to prevent the grease from bleeding through the paint.
- Choose a high-quality latex or acrylic paint with a semi-gloss or gloss finish for the top coat. These finishes are easier to clean and more resistant to grease and stains.
3. Smoke stains
- Smoke stains, especially on ceilings or walls, can be challenging to cover because they tend to penetrate the surface deeply. Start thoroughly cleaning the affected area with a strong cleaner or TSP (trisodium phosphate).
- Apply a stain-blocking primer designed specifically for smoke damage. For maximum effectiveness, look for an oil-based or shellac-based primer.
- Once the primer has dried, use a high-quality latex or acrylic paint for the topcoat. Consider using a paint with a matte or eggshell finish to help conceal any remaining imperfections.
4. Ink stains
- Ink stains can be stubborn and may require multiple cleaning attempts before painting. Start by blotting the stain with a clean cloth dampened with rubbing alcohol or a commercial ink remover.
- If the stain persists, you may need to sand the area lightly to remove the surface layer of paint or finish.
- Apply a stain-blocking primer to prevent the ink from bleeding through the paint. Look for a primer specifically designed to block stains like ink or markers.
- Choose a high-quality latex or acrylic paint for the topcoat in the desired finish. A satin or semi-gloss finish is often a good choice for walls or surfaces prone to stains, as these finishes are more washable and durable.
The importance of testing paint in a small area
Testing paint in a small area before applying it to a larger surface is crucial for several reasons. First and foremost, it allows you to assess the color accuracy and compatibility with the surface material. Paint can appear differently when applied to various surfaces, so testing helps ensure the color looks as expected and adheres properly.
Secondly, testing in a small area allows you to evaluate the paint’s coverage and finish. Some paints may require multiple coats for full coverage, while others may have a glossy or matte finish that may not be apparent from looking at the can.
Additionally, testing the paint allows you to observe how it dries and reacts to different environmental conditions, such as temperature and humidity. This is particularly important if you’re painting in an area with specific conditions that could affect the paint’s performance.
Preparing the surfaces for painting
1. Gather materials
Collect all the necessary materials, including cleaning agents, sandpaper, primer, paintbrushes, rollers, painter’s tape, drop cloths, and safety equipment like gloves and goggles.
2. Clear the area
Remove furniture, decorations, and any obstacles from the walls and ceilings. Cover the floors with drop cloths to protect them from drips and spills.
3. Clean the surfaces
Use a mild detergent or TSP (trisodium phosphate) mixed with water to thoroughly clean the walls and ceilings. Pay special attention to areas with stains, grease, or grime. Rinse the surfaces with clean water and allow them to dry completely.
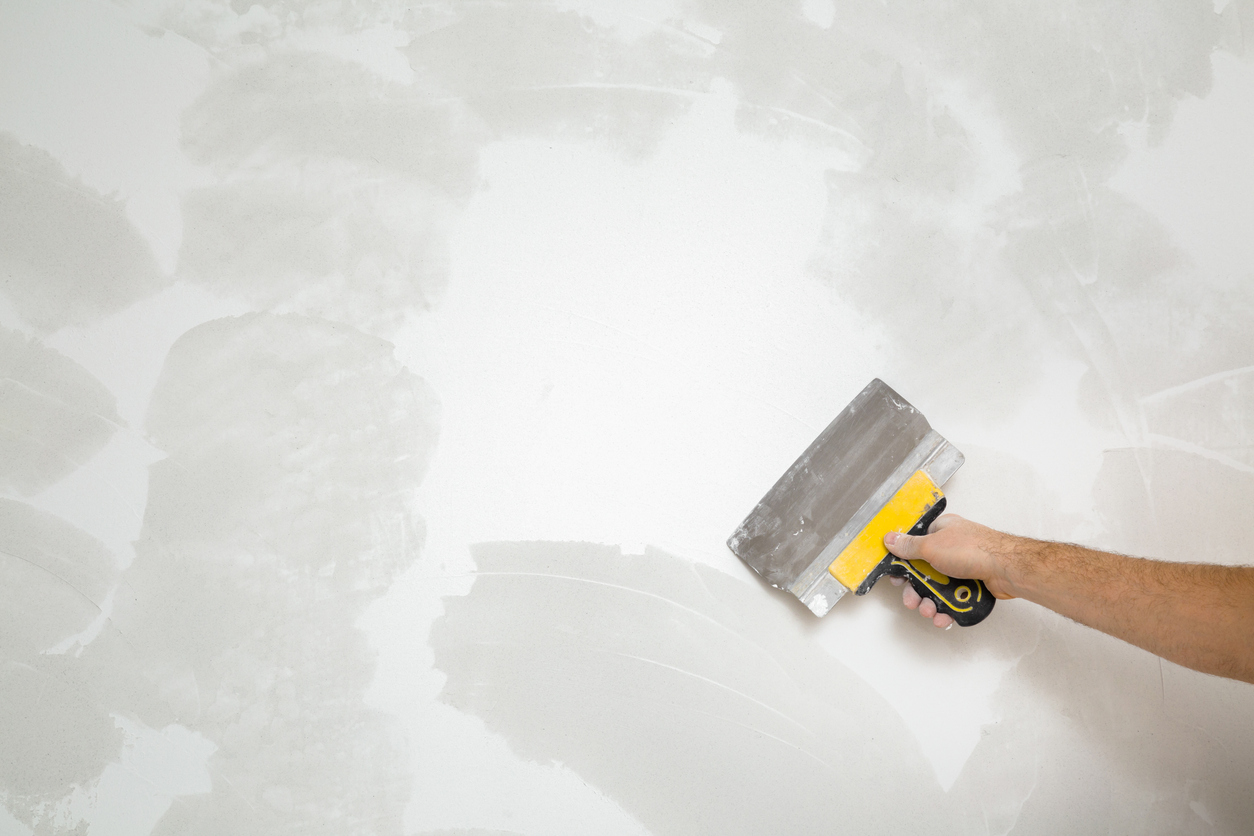
4. Repair damaged areas
Inspect the walls and ceilings for any cracks, holes, or dents. Fill these imperfections with a spackling or joint compound, then smooth them with a putty knife. Once dry, sand the repaired areas until they are smooth and blend seamlessly with the surrounding surface.
5. Sand the surfaces
Lightly sand the walls and ceilings using fine-grit sandpaper (120 to 220 grit) to create a slightly rough surface. This helps the primer adhere better and promotes even paint coverage. Afterward, wipe away dust with a damp cloth or tack cloth.
6. Protect fixtures and trim
Use painter’s tape to mask off any fixtures, trim, or areas you don’t want to paint, such as baseboards, door frames, and outlets.
7. Prime the surfaces
Apply a coat of high-quality primer to the walls and ceilings using a paint roller or brush. Primer helps to seal the surface, provides better adhesion for the paint, and blocks stains from bleeding through. Allow the primer to dry completely according to the manufacturer’s instructions.
8. Inspect and touch-up
After the primer has dried, inspect the surfaces for any missed spots, imperfections, or areas needing additional sanding or patching. Make any necessary touch-ups before proceeding to the final painting stage.
The importance of allowing surfaces to dry thoroughly after cleaning and before painting
Ensuring surfaces are thoroughly dry before painting is crucial for several reasons:
- Adhesion—Paint adheres best to dry surfaces. Moisture on the surface can prevent the paint from bonding properly, leading to peeling, cracking, or blistering over time.
- Uniformity – Moisture can cause paint to dry unevenly, resulting in a patchy or streaky appearance. This can compromise the aesthetic quality of the paint job.
- Mold and mildew – Moist conditions provide a perfect breeding ground for mold and mildew. Painting over damp surfaces can trap moisture beneath the paint, promoting the growth of these harmful microorganisms, which can lead to health issues and damage to the painted surface.
- Durability – A properly dried surface ensures the paint lasts longer and maintains its integrity over time. Painting on damp surfaces can compromise the paint job’s durability, leading to premature wear and deterioration.
- Efficiency – Allowing surfaces to dry thoroughly before painting ensures the paint application process goes smoothly. Wet surfaces can cause paint to run or drip, leading to wasted paint and a messy finish.
Application tips for effective coverage

Tips and techniques for applying paint
1. Prepare the Surface
Before applying any paint, ensure the surface is clean, dry, and free from dust, dirt, or grease. Sanding the surface lightly can also help the paint adhere better.
2. Choose the Right Paint
Select a high-quality paint appropriate for the surface you are painting (e.g., interior walls, exterior siding, wood, metal, etc.). Different surfaces may require different types of paint, such as latex or oil-based paints.
3. Use primer if necessary
For highly porous surfaces with stains or discoloration, applying a primer beforehand can help improve the adhesion and coverage of the topcoat.
4. Apply multiple thin coats
It’s generally more effective to apply multiple thin coats of paint instead of one thick coat. This ensures better coverage, reduces the likelihood of drips or sags, and results in a smoother finish. Allow each coat to dry completely before applying the next one.
5. Work in sections
Divide the surface you’re painting into manageable sections, focusing on one section at a time. This helps you maintain a wet edge and ensures uniform coverage.
6. Use the right tools
The choice of tools can significantly impact the outcome of your paint job. Here’s when to use each type of tool:
- Brushes – Paintbrushes are ideal for painting trim, corners, and other detailed areas where precision is needed. Use high-quality brushes with synthetic bristles for latex paint and natural bristles for oil-based paint.
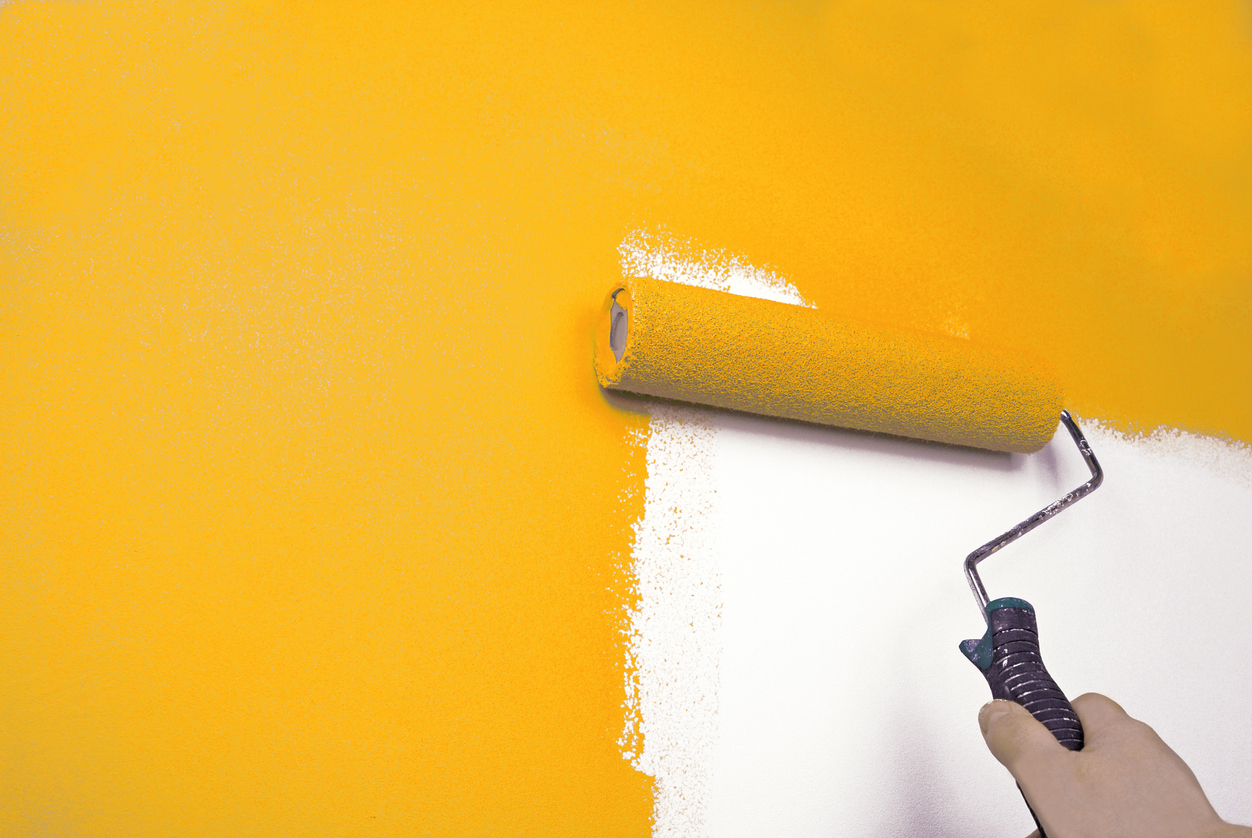
- Rollers – Rollers are excellent for covering large, flat surfaces quickly and evenly. Use a roller with a nap appropriate for your surface texture (e.g., smooth, semi-smooth, or rough). Rollers come in various sizes, so choose one that’s suitable for the size of the area you’re painting.
- Sprayers – Paint sprayers are the fastest way to apply paint to large areas, such as walls or ceilings. They provide a smooth, uniform finish but require careful preparation to avoid overspray. Sprayers are best suited for experienced painters or professionals.
7. Maintain proper technique
Proper technique is crucial for achieving good results, whether you’re using brushes, rollers, or sprayers. For example:
- When using a brush, apply paint with smooth, even strokes toward the wood grain or the surface texture.
- Use a W-pattern or M-pattern to distribute the paint evenly when using a roller. Avoid pressing too hard on the roller, which can cause excess paint to be squeezed out.
- When using a sprayer, hold the nozzle at the proper distance from the surface (as recommended by the manufacturer) and maintain a steady, overlapping motion to avoid streaks or uneven coverage.
Maintenance and prevention
1. Regular cleaning
- Dust your walls and ceilings regularly with a soft cloth or a duster to prevent the buildup of dirt and grime.
- For more stubborn stains, use a mild detergent solution and a soft sponge or cloth to scrub the surface gently. Always test any cleaning solution on a small, inconspicuous area first to ensure it doesn’t damage the paint.
2. Avoid harsh chemicals
- Avoid harsh chemicals or abrasive cleaners on painted surfaces, as they can strip the paint away or cause discoloration. Stick to mild, pH-neutral cleaners whenever possible.
3. Protect high-traffic areas
- Apply a clear coat or protective sealant to high-traffic areas such as hallways, stairwells, and around doorways to provide an extra layer of protection against wear and tear.
4. Address stains promptly
- Deal with stains as soon as they occur to prevent them from setting into the paint. Blot stains gently with a clean cloth and a mild cleaning solution rather than rubbing, which can spread the stain and damage the paint.
5. Maintain proper ventilation
- Ensure good ventilation in your home to prevent moisture buildup, which can lead to mold and mildew growth on painted surfaces. Use exhaust fans in bathrooms and kitchens, and open windows when possible to allow air circulation.
6. Touch-up paint
- Keep a small amount of touch-up paint the same color as your walls for quick fixes. Store it in an airtight container to prevent it from drying out.
- Before applying touch-up paint, clean the area thoroughly and allow it to dry completely. Use a small brush or a paint pen for precise application and feather the edges to blend the new paint with the existing surface.
7. Inspect Regularly
- Periodically inspect your painted surfaces for any signs of damage or wear, such as cracks, peeling, or discoloration. Address any issues promptly to prevent them from worsening.
8. Protect Furniture and Fixtures
- Use furniture pads, rugs, and other protective measures to prevent scratches and dents on painted surfaces caused by furniture and fixtures.
When to call a professional
Hiring a professional painter can be highly advantageous in several scenarios, particularly when dealing with stubborn stains, high ceilings, or extensive damage.
- Stubborn stains – Some stains, such as watermarks, smoke damage, or grease marks, can be incredibly challenging to remove or cover up effectively. Professional painters have the expertise and access to specialized products and techniques to address these stains properly. They can assess the type of stain and determine the most suitable approach, whether it involves thorough cleaning, priming, or using stain-blocking paints.
- High ceilings –Painting high ceilings can be physically demanding and potentially dangerous for someone without the proper equipment or experience. Professional painters are equipped with ladders, scaffolding, and safety gear to work safely at heights. They also have the skills to achieve even coverage without streaks or drips, ensuring a flawless finish.
- Extensive damage – Walls with extensive damage, such as cracks, holes, or peeling paint, require more than just a fresh coat of paint. Professional painters can properly prepare the surface by filling in cracks, patching holes, and sanding rough areas before painting. Their attention to detail ensures a smooth and long-lasting result, even on surfaces with significant damage.
Tips for Selecting a Reliable Painting Contractor:

- Ask for recommendations – Seek recommendations from friends, family, or neighbors who have recently had painting work done. Personal referrals are often reliable indicators of quality and customer satisfaction.
- Research online reviews – Check online review platforms like Google, Yelp, or Angie’s List to read feedback from previous customers. Look for consistently positive reviews and pay attention to recurring complaints or issues.
- Verify credentials – Ensure the painting contractor is licensed, bonded, and insured. Licensing requirements vary by state, but a legitimate contractor should be able to provide proof of proper credentials. Insurance protects you in case of accidents or property damage during the project.
- Request references – Ask the painting contractor for references from past clients. Contact these references to inquire about their experience working with the contractor, including the quality of work, professionalism, and adherence to deadlines.
- Get multiple quotes – Obtain detailed quotes from multiple painting contractors, outlining the scope of work, materials to be used, and total cost. Avoid choosing the lowest bid automatically; instead, compare quotes to ensure they cover all necessary aspects of the project.
- Discuss timeline and schedule – Communicate your expectations regarding the project timeline and schedule with the painting contractor. A reliable contractor should provide a realistic timeline for completion and stick to it as closely as possible.
What to expect from the service:
- Initial consultation – The painting contractor will typically conduct an initial consultation to assess the project’s scope, discuss your preferences, and provide recommendations. This is an opportunity to ask questions and address any concerns.
- Surface preparation – Professional painters will thoroughly prepare the surfaces to be painted, which may involve cleaning, sanding, patching, and priming as needed. Proper surface preparation is crucial for achieving a smooth and durable finish.
- Quality materials – A reputable painting contractor will use high-quality paints and materials appropriate for your project requirements. They can recommend paint brands and finishes based on surface type, location, and desired aesthetic.
- Professional execution – Expect skilled and experienced painters to execute the work with precision and attention to detail. They will use proper techniques to ensure even coverage, clean lines, and minimal mess or disruption to your home.
- Cleanup and inspection – Once the painting is complete, the contractor should thoroughly clean up the work area, removing debris, paint splatters, or equipment. They will also conduct a final inspection to ensure the quality of the work meets your expectations.
Conclusion
Choosing the right type of paint and properly preparing surfaces is crucial for effectively covering stains on walls and ceilings. The right paint ensures durability and stain resistance, while proper preparation, such as cleaning and priming, ensures a smooth and even finish, preventing stains from bleeding through. Investing time in these steps ensures a long-lasting and aesthetically pleasing result.
Transform your home’s interior with confidence. Knowing that the right paints, tools, techniques, and approach can revitalize your home’s beauty, you can tackle stain coverage. Don’t hesitate—take the reins and restore your space to its full potential today.
Otherwise, you can hire the services from a professional when you need a clean and long-lasting paint job but don’t have the time, tools, and skills. You should not take chances when hiring a painter – go only for the experienced, licensed, and insured paint contractor who will deliver a good finish for your house painting in Danville, CA! Call Custom Painting, Inc. at 925-294-8062 or complete our contact form to schedule a free job estimate.
