

You could spend hundreds of dollars on high-quality paint and tools for your Dublin, Livermore, San Ramon, and Pleasanton area home and commercial exteriors. But if you don’t spend the time to prepare your exterior surfaces correctly, it will be all for nothing. Exterior painting enhances a home or commercial property’s curb appeal and protects surfaces from weather damage, moisture, and UV exposure. Proper surface preparation—cleaning, repairing, and priming—is crucial for ensuring the paint adheres well and lasts.
Without thorough preparation, the paint may fail prematurely, leading to peeling, cracking, and costly repairs, reducing both the aesthetic value and the paint’s protective benefits.
Why surface preparation matters
- Adhesion: Proper surface preparation removes dirt, dust, and old paint, allowing the new paint to adhere firmly to the exterior walls, ensuring a long-lasting bond.
- Durability: Prepping the surface helps paint resist environmental factors like rain, sun, and wind, making it less likely to peel or fade over time, increasing the lifespan of the paint job.
- Prevention of future problems: By addressing issues such as mold, mildew, cracks, and loose paint during preparation, you prevent these problems from worsening beneath the new paint, reducing the likelihood of damage after painting.
- Smooth finish: A well-prepared surface creates a clean, even base for the paint, resulting in a smooth, professional finish that enhances the appearance of the walls.
Initial inspection of exterior walls
Before starting any preparation work on exterior walls, a thorough initial inspection is crucial. It helps you identify potential issues that need addressing before painting or repairs, ensuring a longer-lasting, high-quality result. Here are some common problems to look for:
- Peeling or blistering paint: Indicates moisture issues or poor adhesion of the previous paint job, requiring removal and repair before repainting.
- Cracks or holes: These need to be filled and repaired to prevent water intrusion and further damage.
- Mold, mildew, or algae growth: Common in damp areas, these need to be cleaned to prevent regrowth beneath the new paint.
- Dirt, grime, or pollution buildup: Must be thoroughly cleaned to ensure proper paint adhesion.
- Wall material planning: Whether wood, stucco, brick, or T1-11 siding, each material may require different preparation methods and treatments before painting.
Cleaning the surface
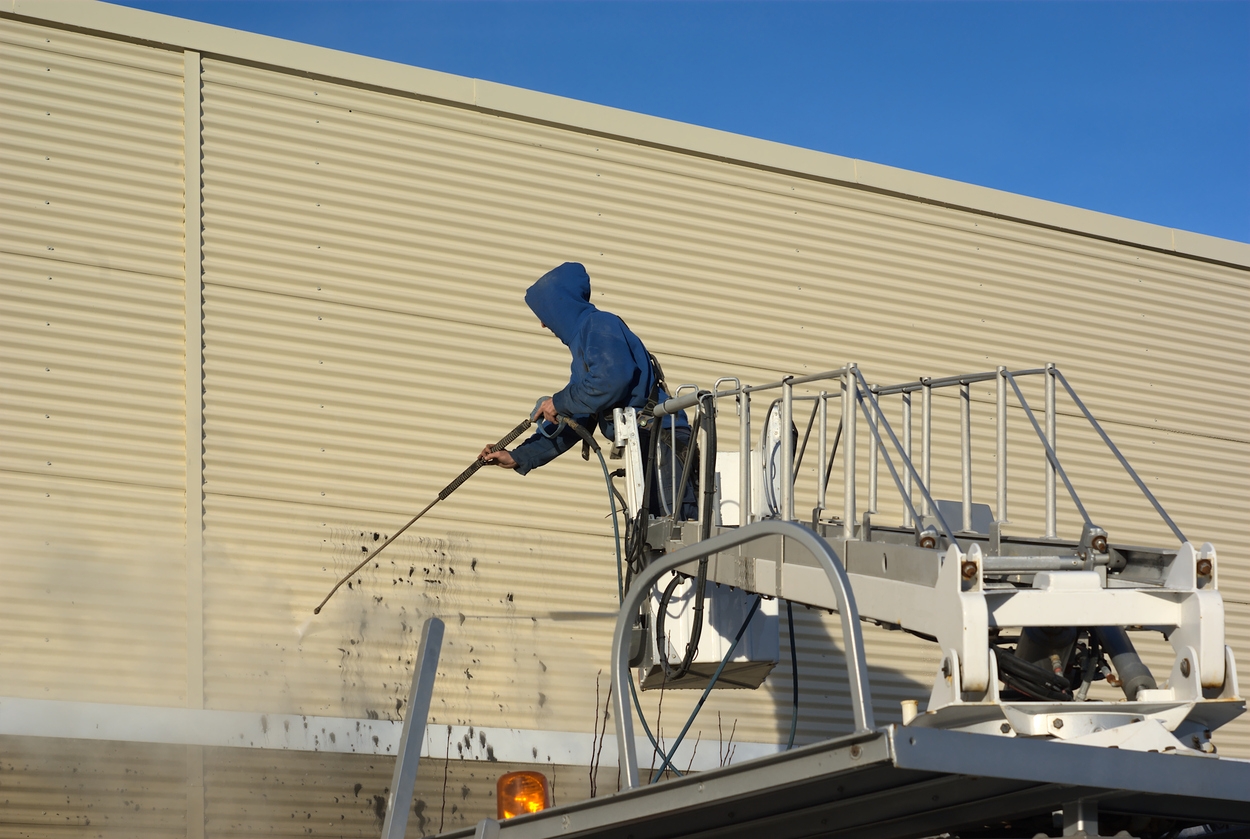
- Pressure washing: Using a pressure washer on your Livermore home effectively removes dirt, debris, mildew, and loose paint. Set the pressure to a medium level (around 1500-2500 psi) to avoid damaging the surface, and work from top to bottom in even strokes. Keep the nozzle at least a foot away from the wall to prevent stripping or etching.
- Mildew and algae removal: For areas with mold or algae, apply a cleaning agent or bleach solution (usually one part bleach to three parts water). Allow it to sit for about 15 minutes before scrubbing with a brush or rinsing with a pressure washer. It kills the growth and prevents regrowth beneath the paint.
- Dealing with pollution: In urban areas, exterior walls can accumulate grime from pollution. Use a cleaning solution designed to cut through oil and soot, applying it with a soft brush before rinsing with water or a pressure washer.
- Surface drying: After cleaning, allow the surface to dry completely. Moisture can cause paint to peel or blister, so wait at least 24-48 hours (depending on humidity) before moving to the next painting or sealing step.
Repairing damaged surfaces
- Filling cracks and holes: Use caulk for small gaps or masonry filler for larger cracks and holes. Apply the filler evenly and smooth it out to ensure the surface is level. Let it dry completely before sanding or painting for a seamless finish.
- Replacing damaged materials: Replace any rotten or damaged wood, siding, or stucco before painting to avoid further structural issues. Painting over damaged areas can lead to peeling or poor adhesion, shortening the paint job’s life.
- Sanding rough areas: Sanding smooths out uneven or rough patches, creating a uniform surface that ensures better paint adhesion. Sand with fine-grit sandpaper to avoid leaving deep scratches, focusing on peeling paint or rough textures.
- Sealing gaps and joints: Caulking around windows, doors, and joints prevents water from seeping in and protects the structure from damage. It also helps create a cleaner, seamless finish by filling in cracks that could otherwise disrupt the paint job.
Dealing with loose or flaking paint
Dealing with loose or flaking paint is essential for a smooth, long-lasting finish when repainting. Here are the crucial steps:
- Scraping off loose paint: Use a scraper or wire brush to remove peeling or flaking paint. Apply firm pressure at an angle to lift the loose paint without damaging the underlying surface.
- Sanding for smoothness: Sand the edges of scraped areas to smooth out rough transitions and blend the exposed areas with the surrounding paint. Doing so ensures the new paint will adhere evenly.
- Power tools: For large areas or stubborn paint, power sanders or grinders can speed up the process, providing faster and more efficient removal. Use caution to avoid gouging the surface.
- Protective gear: Always wear a mask and goggles to protect yourself from inhaling paint dust and particles, especially when sanding or using power tools.
Priming the surface
Priming the surface ensures a high-quality, durable paint job. Here’s a breakdown of why it’s important and how to approach it:
- Why primer is essential: Primer creates a stable, smooth base for paint, especially on repaired or bare areas. It helps paint to adhere better, providing uniform coverage and preventing issues like peeling, cracking, or uneven color.
- Choosing the correct primer: Oil-based primers work well on wood and metal, providing a durable seal and preventing stains from bleeding through. Latex primers, on the other hand, are ideal for drywall, plaster, and brick as they dry faster, are easier to clean, and are more flexible.
- Spot priming vs. full priming: Spot priming targets specific problem areas (like patched holes or stains), but for consistent paint coverage, priming the entire surface may be necessary, especially when dealing with drastic color changes or uneven wall conditions.
- Sealing porous surfaces: On porous surfaces like stucco or bare wood, primer seals the material, preventing it from absorbing too much paint. It helps the topcoat adhere better and ensures it lasts longer without frequent touch-ups.
Protection against moisture and weather
- Weatherproofing: Sealing gaps and cracks is essential for preventing moisture from penetrating the surface. Unsealed areas can allow water to seep in, causing paint to blister, peel, and eventually fail. Properly caulking joints, seams, and openings around doors, windows, and siding help protect the surface from moisture damage.
- Moisture barriers: Applying waterproof sealants or moisture barriers before painting adds extra protection. These layers help block moisture from reaching the substrate, extending the life of the paint and reducing the risk of mold or mildew growth. It is especially crucial for areas exposed to heavy rain or damp conditions.
- Dealing with humidity: In humid climates, it’s vital to ensure the surface is completely dry before painting. Moisture trapped under the paint can cause bubbling and peeling. It’s best to paint during dry, low-humidity conditions and allow ample drying time between coats. Using moisture meters can help confirm the surface’s readiness.
Using the right tools and materials
- Importance of high-quality tools: Using high-quality tools such as scrapers, sanders, and pressure washers is crucial for effective surface preparation. These tools ensure that surfaces are thoroughly cleaned and prepped, leading to better paint adhesion and a smoother finish.
- Choosing the right cleaning agents and fillers: Selecting appropriate cleaning agents, fillers, primers, and caulking materials significantly impacts the durability of the paint job. High-quality primers enhance adhesion and protect against moisture, while suitable fillers ensure a smooth, even surface.
- Handling various exterior wall materials:
- Wood: Use wood-specific primers and sealants to protect against rot and weather damage.
- Brick: Choose masonry cleaners and breathable primers that allow moisture to escape while providing a good base for paint.
- Stucco: Choose elastomeric paints and primers that can flex with the surface, preventing cracking and ensuring longevity.
Timing and environmental considerations
When preparing exterior surfaces for painting, timing and environmental considerations are crucial for optimal results:
- Best times to paint: The ideal times to paint exterior walls are during moderate weather conditions, typically in late spring or early fall. Avoid extreme heat (over 90°F), cold (below 50°F), and rain to ensure proper adhesion and drying.
- Environmental factors: Humidity levels affect drying times; high humidity can slow the drying process, while low humidity may accelerate it. Temperature is also essential; cooler temperatures can extend drying times, and windy conditions can lead to uneven application and dust contamination.
- Scheduling projects: It is vital to plan painting and surface preparation during favorable weather conditions. This ensures better adhesion of primers and sealants, thus reducing the risk of paint failure and leading to a more durable finish.
Professional expertise: when to call a painter
Here are the reasons why you should hire a professional painting company to deal with exterior surface preparation:
- Thorough surface preparation: Professional painters utilize specialized tools and techniques, such as sanders, scrapers, and primers, to ensure surfaces are clean, smooth, and ready for paint, which is crucial for achieving a lasting finish.
- Benefits of hiring a professional: Engaging a professional helps avoid common painting problems like poor adhesion, bubbling, or uneven finishes. Their expertise ensures a smooth application and high-quality results.
- Experience with complex issues: Professionals are adept at handling intricate surface preparation challenges, including extensive water damage or deep cracks, using appropriate repair methods and materials to ensure the best outcome.
Conclusion
Proper surface preparation is crucial for successful exterior painting projects. Well-prepared surfaces lead to longer-lasting, more durable, and visually appealing paint jobs.
Don’t underestimate the importance of this foundational step. For expert surface preparation and exterior painting services, contact our Custom Painting, Inc. team today at 925-294-8062 or on our contact page to ensure your property looks its best for years to come!
