
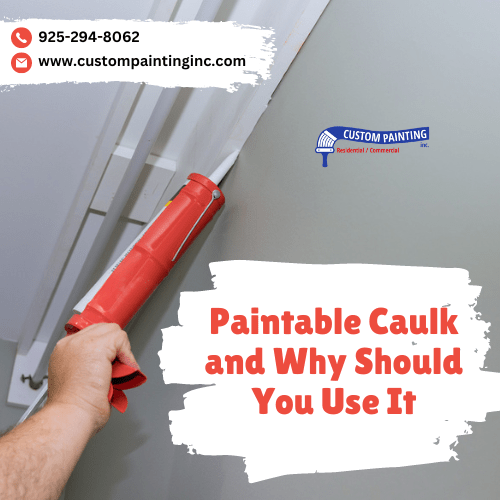
Painters – both DIY and professional – consider paintable caulk an advantage for any Bay Area home. Caulking is important in home maintenance and is essential for sealing gaps and cracks, helping prevent moisture, drafts, and pests from entering. For example in a Livermore home with extensive crown moulding, caulk can help to ensure gaps stay sealed and properly painted.
Using the correct type of caulk is crucial; paintable caulk not only provides a secure seal but also allows for painting over, ensuring a smooth, attractive finish that blends seamlessly with surrounding surfaces. Paintable caulks are great because they seal gaps and cracks while allowing you to paint over them for a seamless, uniform finish, improving the functionality and aesthetics of surfaces. If you haven’t considered using a paintable caulk yet, this article will convince you of its advantages and ease of application.
What is paintable caulk?
Paintable caulk is a type of sealant that can be painted over after application, allowing it to blend seamlessly with the surrounding surfaces. This product is particularly useful for finishing work where the caulked areas must match the color of walls, trim, or other painted surfaces.
Characteristics
- Adhesion: Excellent adhesion to various surfaces, including wood, drywall, plaster, and masonry.
- Flexibility: Remains flexible after curing, which helps accommodate the natural expansion and contraction of building materials.
- Durability: Resistant to cracking and peeling, providing long-lasting seals.
- Ease of application: Smooth application and easy tooling make it user-friendly for DIY projects.
Comparison with non-paintable caulk
Paintable caulk vs. non-paintable caulk:
Paintability:
- Paintable caulk: It can be painted over once it cures, allowing it to blend with the surface color.
- Non-paintable caulk: It cannot be painted, maintaining its original color, which may not match the surrounding area.
Usage:
- Paintable caulk: It is ideal for indoor applications where appearance is crucial, such as trim, molding, and gaps between walls and ceilings.
- Non-paintable caulk: Often used in areas where painting is unnecessary or undesired, such as in bathrooms and kitchens where clear or white caulk can suffice.
Materials:
- Paintable caulk: Typically made from materials like acrylic latex, which allows for paint adhesion.
- Non-paintable caulk: Often made from silicone or other materials that resist paint adhesion.
Common materials used in paintable caulk
1. Acrylic Latex:
- Characteristics: Water-based, easy to apply and clean up, good adhesion and flexibility.
- Uses: Ideal for interior applications, such as baseboards, door frames, and crown molding.
2. Acrylic silicone blend:
- Characteristics: Combines acrylic’s paintability with silicone’s flexibility and durability.
- Uses: Suitable for areas that require more durability and flexibility, such as windows and doors.
3. Polyurethane:
- Characteristics: Highly flexible, strong adhesion, can be painted once cured.
- Uses: Often used in exterior applications due to its excellent weather resistance and durability.
Paintable caulk is a versatile and essential material for achieving professional-looking results in home improvement projects, especially where aesthetic continuity is crucial.
Benefits of using paintable caulk
Paintable caulk offers several benefits that make it an essential tool for home improvement projects:
- Flexibility and durability: Paintable caulk remains flexible after it dries, allowing it to expand and contract with temperature and humidity changes. This prevents it from cracking over time, ensuring a long-lasting seal.
- Seamless finishing for painted surfaces: When painted over, paintable caulk blends seamlessly with the surrounding surfaces. It helps create a smooth and uniform appearance, enhancing the overall look of the project.
- Prevention of cracks and gaps: Paintable caulk fills cracks, gaps, and joints to prevent air and moisture infiltration. This is crucial in areas prone to these issues, such as bathrooms and kitchens, as it helps maintain the integrity of the surfaces and prevents damage.
- Enhanced aesthetic appeal: Paintable caulk allows for a clean, professional finish. It can be painted to match the surrounding areas, ensuring that the caulk line is virtually invisible, which improves the overall aesthetic of the space.
Common applications for paintable caulk
Paintable caulk is a versatile material that seals gaps and cracks, providing a smooth, paintable surface. Here’s a brief discussion of its uses:
Interior uses
- Baseboards: Sealing gaps between baseboards and walls to create a neat finish and prevent drafts.
- Trim: Filling gaps and cracks in trim around doors and windows for a seamless look.
- Molding: Sealing joints and edges in crown molding and other decorative moldings.
- Window frames: Filling gaps around window frames to improve insulation and appearance.
Exterior uses
- Siding: Sealing joints and gaps in siding to protect against moisture and pests.
- Doors: Filling gaps around exterior doors to improve energy efficiency and weatherproofing.
- Windows: Sealing around window frames to prevent water infiltration and enhance insulation.
Specialty uses
- Bathrooms: Sealing joints in bathrooms, especially around tubs, showers, and sinks, to prevent water damage and mold growth.
- Kitchens: Filling gaps and cracks around sinks, countertops, and backsplashes to protect against moisture and ensure a clean, finished appearance.
How to apply paintable caulk
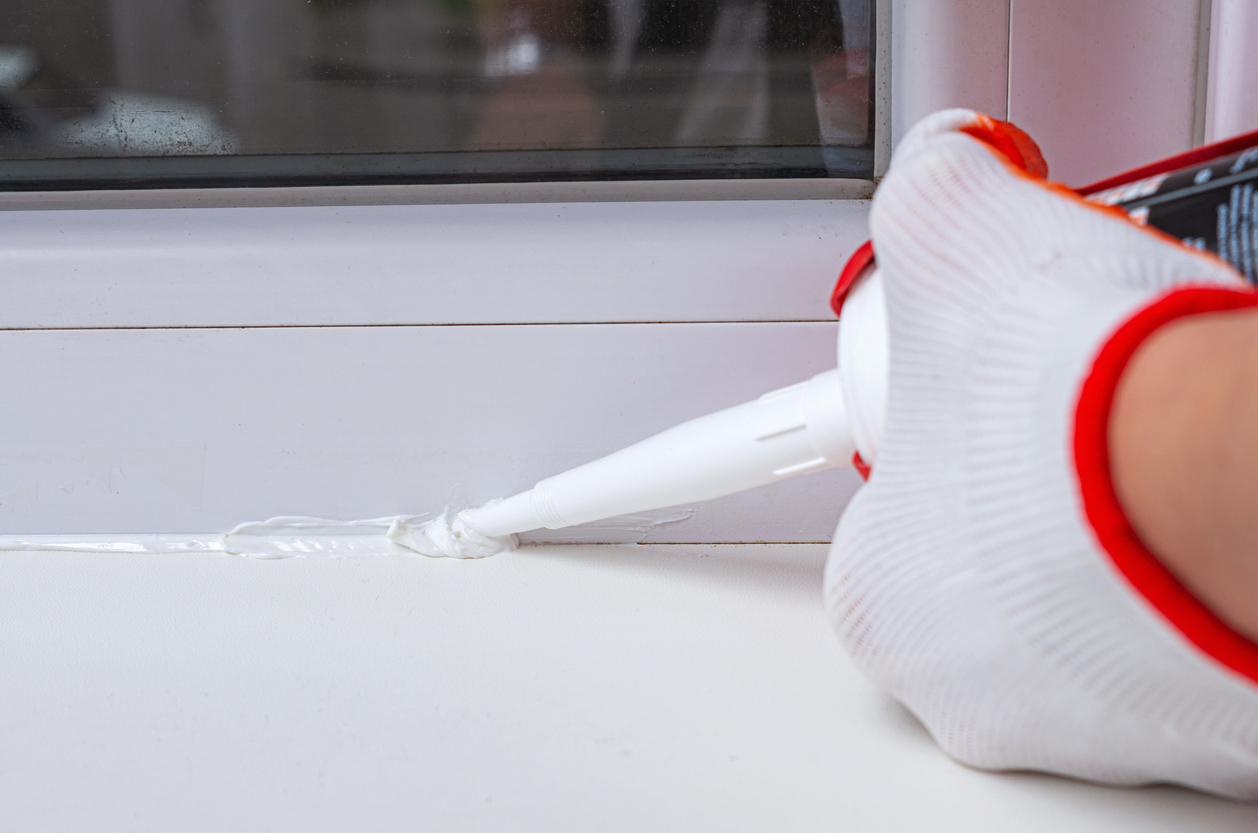
Follow the steps below on how to apply paintable caulk properly.
Materials needed
- Paintable caulk
- Caulking gun
- Utility knife
- Painter’s tape
- Rag or paper towels
- Soapy water
- Paint and painting tools (brushes, rollers, etc.)
Step-by-step application guide
1. Preparation:
- Clean the area where you will apply the caulk. Ensure the is dry and free of dirt, dust, or debris.
- Use painter’s tape to mask off areas around the joint where you don’t want the caulk to go.
2. Cutting the caulk tube:
- Cut the caulk tube’s tip at a 45-degree angle, keeping the hole small to control the flow.
3. Loading the caulk gun:
- Insert the caulk tube into the caulking gun. Push the plunger tightly against the bottom of the tube.
4. Applying the caulk:
- Squeeze the trigger and apply an even bead of caulk along the joint, maintaining consistent pressure.
- Smooth the caulk immediately with a damp finger or a caulk finishing tool for a neat line.
5. Cleaning up:
- Wipe away any excess caulk with a rag or paper towel.
- Remove the painter’s tape before the caulk dries to prevent peeling off the caulk with the tape.
Tips for a smooth and professional finish
- Use high-quality paintable caulk to ensure good adhesion and a smooth finish.
- Apply in small sections to avoid the caulk drying out before smoothing.
- Keep your finger or tool wet when smoothing the caulk to prevent it from sticking and pulling away.
- Work in a well-ventilated area to speed up drying times and reduce fumes exposure.
- Check for gaps after drying and apply a second layer (if needed) for a seamless look.
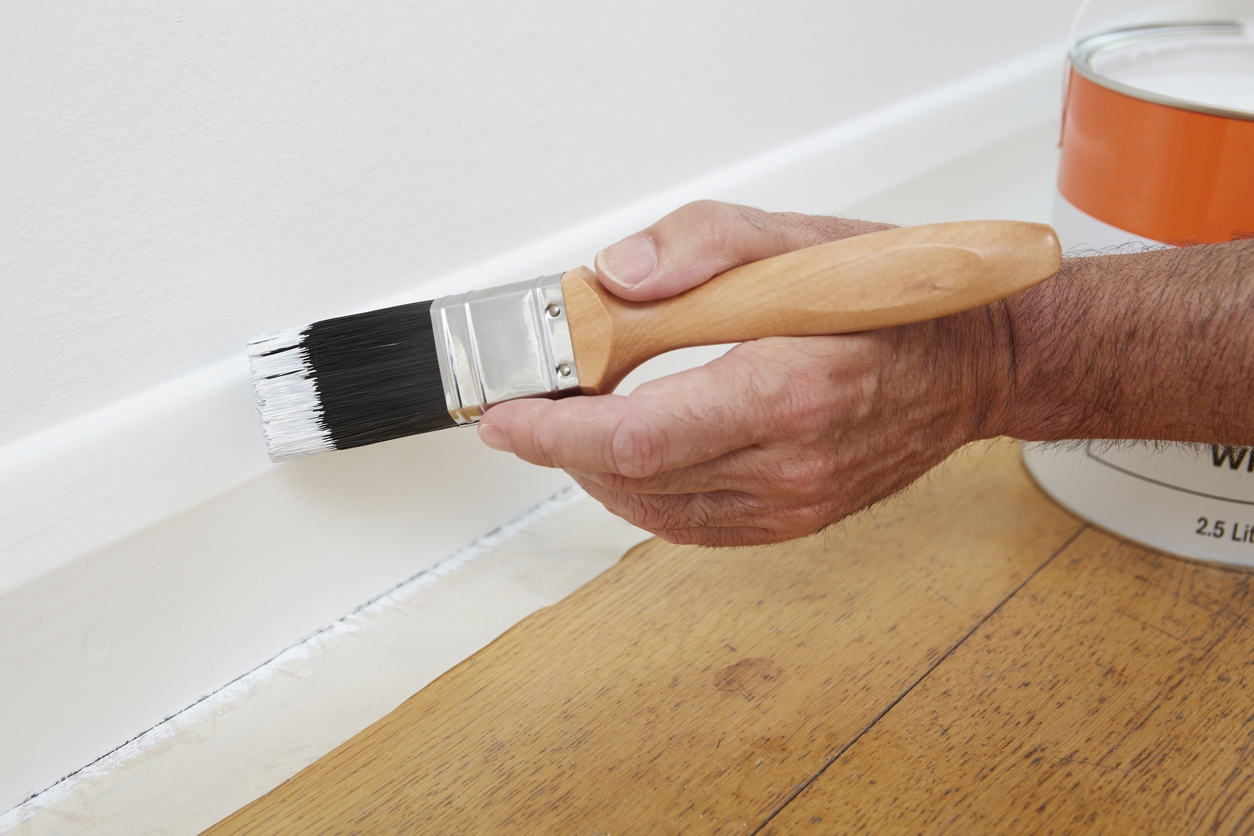
Tips for painting over caulk
1. Waiting time before painting:
- Wait at least 24 hours, or per manufacturer’s instructions, after applying caulk to ensure it is fully cured before painting.
2. Best types of paint to use:
- Use high-quality, 100% acrylic latex paint for best adhesion and durability.
3. Techniques for achieving a flawless look:
- Clean the caulked area thoroughly before painting.
- Apply a primer over the caulk for better paint adhesion.
- Use a high-quality brush or painter’s tape to ensure clean edges.
- Apply paint in thin, even layers to avoid drips and achieve a smooth finish.
Conclusion
Choose paintable caulk to produce a polished and durable finish for your home projects. Its versatility and ability to seamlessly blend with painted surfaces ensure a long-lasting professional look.
Consider contacting our skilled and dependable team from Custom Painting, Inc., who can provide expert application and guidance tailored to your specifications and preferences. We ensure a flawless result that enhances the beauty and longevity of your home’s interior and exterior surfaces. Ready to start your paint project with us? For a free consultation and estimate, call us at 925-294-8062 or message us on our contact page.
