

Painting a garage requires careful planning and attention to detail. To achieve the best results, it’s helpful to follow a checklist that covers every step of the process. This article provides a straightforward guide for painters to achieve a top-notch garage painting finish.
Preparation
Taking the time to prepare the garage space and surfaces ensures better adhesion and a smoother result. Here are the steps to follow for effective preparation.
Clean the Garage
Remove all items from the garage. Sweep and mop the floor to remove dust and dirt. Clean the walls and ceiling to ensure there is no grime or grease that could affect the paint.
Repair Any Damage
Inspect the walls and ceiling for cracks, holes, or other damage. Use spackle or filler to repair these areas. Sand the patched spots to create a smooth surface for painting.
Protect Surfaces
Cover floors and any areas that you do not want to paint with drop cloths or plastic sheets. Use painter’s tape to protect trim, windows, and other fixtures.
Prime the Surfaces
If the walls have stains or the previous paint is dark, apply a primer. This will create a uniform base and help the new paint adhere better. Choose a primer suitable for the type of paint you plan to use.
Gather Your Tools
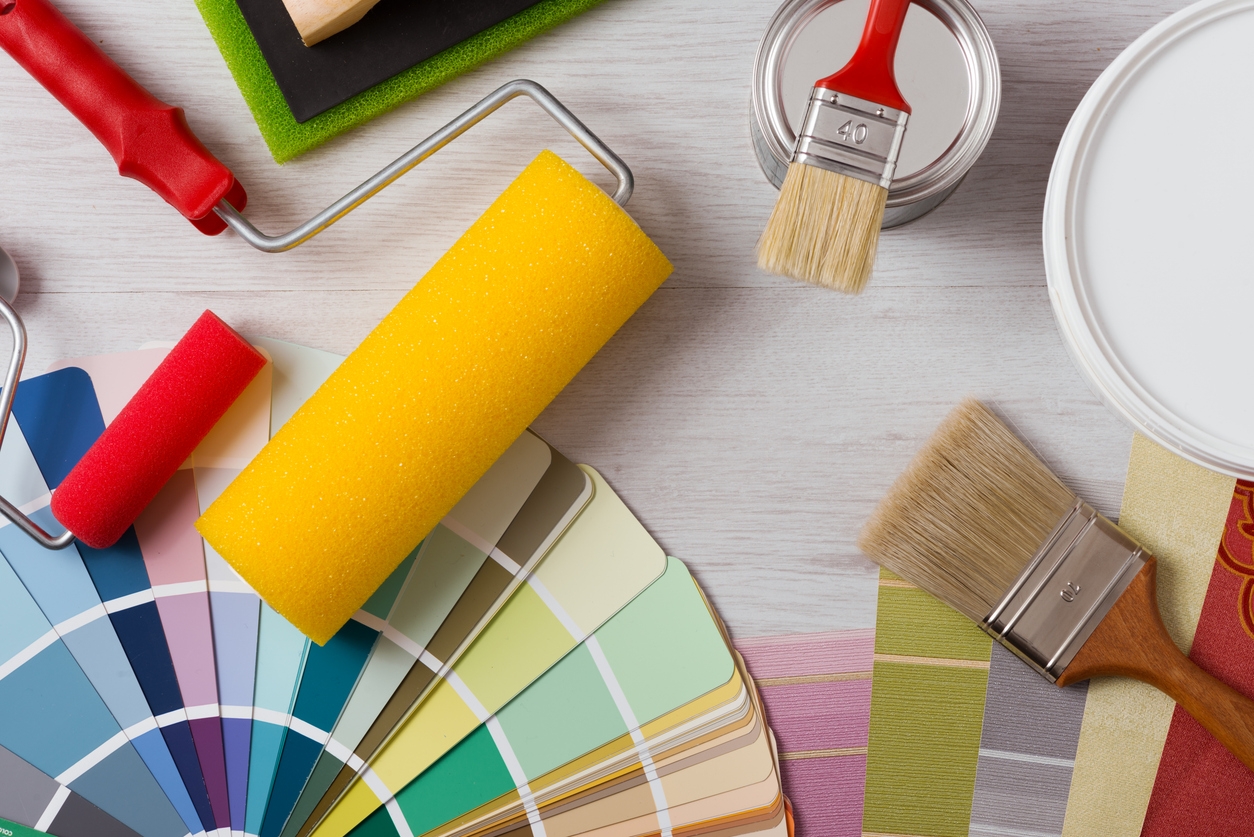
Make sure you have all the necessary tools and materials before you start. This includes paint, brushes, rollers, trays, and ladders. Having everything ready will make the painting process smoother and more efficient.
Safety Precautions
When painting a garage, safety should be a top priority. Taking the right precautions can prevent accidents and injuries. Here are some important safety steps to follow.
- Wear Protective Gear: Use gloves, safety goggles, and a mask to protect your skin, eyes, and lungs from paint fumes and splashes.
- Ventilate the Area: Keep doors and windows open to ensure good ventilation. Use fans to circulate air and reduce the buildup of fumes.
- Use Ladders Safely: Ensure ladders are stable and on even ground. Do not overreach when using a ladder. Move it as needed to stay safe.
- Handle Paint and Solvents Carefully: Store paint and solvents in a safe place. Keep them away from heat sources and open flames. Dispose of them properly.
- Take Breaks: Avoid fatigue by taking regular breaks. This helps maintain focus and reduces the risk of accidents.
- Keep the Area Clean: Clean up spills immediately to prevent slips and falls. Keep tools and materials organized to avoid tripping hazards.
Surface Preparation
Proper surface preparation is key to achieving a lasting paint finish. Follow these steps to prepare your garage surfaces effectively for painting.
- Clean the Surfaces: Remove dust, dirt, and grease from the walls, ceiling, and floor. Use a mild detergent and water for cleaning. Allow the surfaces to dry completely.
- Repair Damages: Inspect for cracks, holes, and other imperfections. Use spackle or filler to repair these areas. Sand the repaired spots to create a smooth surface.
- Sand the Surfaces: Lightly sand the walls and other surfaces to remove any old, flaking paint. This helps the new paint adhere better. Use fine-grit sandpaper for this task.
- Remove Loose Paint: Scrape off any loose or peeling paint using a putty knife or paint scraper. Ensure the surface is smooth and ready for priming.
- Prime the Surfaces: Apply a primer to bare or repaired areas. This creates a uniform base and improves paint adhesion. Choose a primer that matches the type of paint you will be using.
- Protect Adjacent Areas: Use painter’s tape to cover trim, windows, and other areas you do not want to paint. Cover floors and furniture with drop cloths or plastic sheets.
Painting Process
Once the preparation is complete, it’s time to start painting. Following a structured process will help you achieve a professional finish. Here are the steps to follow for a successful painting process.
Mix the Paint
Before you start, mix the paint thoroughly. This ensures an even color and consistency. Use a stir stick or a paint mixer attached to a drill for larger cans.
Cut In the Edges
Start by painting the edges and corners with a brush. This technique, called cutting in, allows you to paint areas that rollers cannot reach. It creates a clean border for the roller.
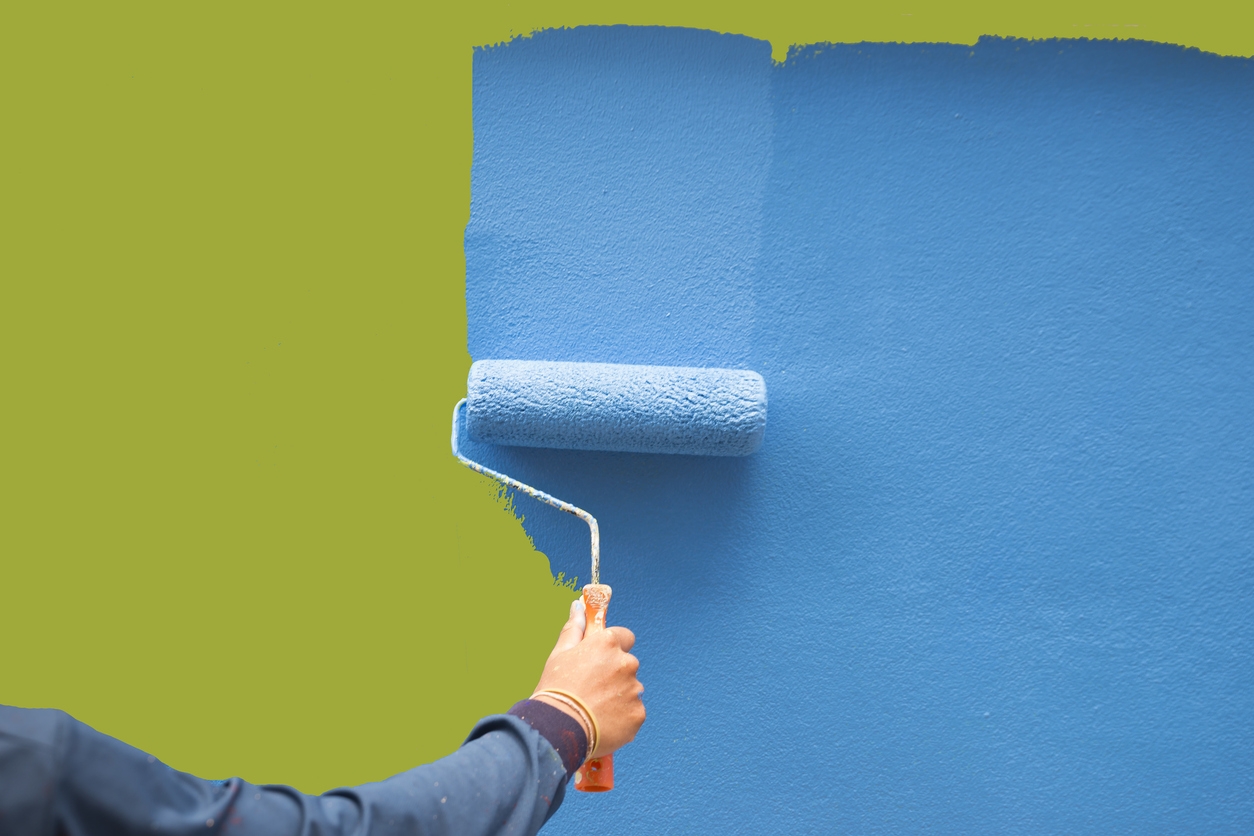
Use a Roller for Large Areas
After cutting in, use a roller to paint large, flat surfaces. Apply the paint in a W or M pattern to distribute it evenly. This helps avoid streaks and ensures a better finish.
Apply Multiple Coats
For the best coverage, apply at least two coats of paint. Allow the first coat to dry completely before applying the second. This ensures better adhesion and a more durable finish.
Touch Up and Inspect
Once the paint is dry, inspect the surface for any missed spots or imperfections. Touch up these areas with a brush for a flawless finish. Make sure to remove any painter’s tape while the paint is still slightly wet to avoid peeling.
Finishing Touches
After painting, adding the finishing touches will complete the project and give your garage a polished look. These final steps are important for achieving a professional finish. Here are the steps to follow.
- Remove Painter’s Tape: Carefully remove the painter’s tape while the paint is still slightly wet. This helps prevent the paint from peeling and leaves clean edges.
- Clean Up: Clean your brushes, rollers, and other tools immediately after use. Follow the paint manufacturer’s instructions for proper cleaning. Dispose of any waste materials responsibly.
- Touch-Up: Inspect the painted surfaces for missed spots or imperfections. Use a small brush to touch up these areas for a flawless finish.
- Reinstall Hardware: Once the paint is completely dry, reinstall any hardware or fixtures that were removed. This includes outlet covers, light fixtures, and shelving.
- Ventilate the Area: Keep the garage well-ventilated to help the paint cure properly. Open windows and doors, and use fans if needed to circulate air.
- Final Inspection: Perform a final inspection to ensure everything looks good. Check for areas that might need additional touch-ups and ensure all equipment and materials are put away.
Maintenance Tips
Keeping your garage looking fresh and well-maintained requires regular care. Following these maintenance tips will help preserve the quality of your paint job and extend its lifespan. Here are some useful tips to keep in mind.
- Clean Regularly: Sweep and mop the garage floor regularly to remove dirt and debris. Clean the walls with mild detergent and water to prevent the buildup of grime.
- Check for Damage: Periodically inspect the painted surfaces for signs of chipping, peeling, or cracking. Address any issues promptly to prevent further damage.
- Touch-Up Paint: Keep a small amount of the original paint for touch-ups. This helps maintain a consistent look and covers up minor damages.
- Control Moisture: Use a dehumidifier or ventilation system to control moisture levels in the garage. This prevents mold and mildew from forming on painted surfaces.
- Avoid Harsh Chemicals: Use gentle cleaning products on painted surfaces. Harsh chemicals can damage the paint and reduce its longevity.
- Protect Against Impact: Avoid hitting walls or surfaces with heavy objects. Use bumpers or padding to protect painted areas from accidental impacts.
- Repaint When Needed: Repaint the garage every few years to keep it looking fresh and new. Regular upkeep can extend the life of your paint job and improve its overall appearance.
Conclusion
A quality garage painting finish requires careful preparation, attention to detail, and proper maintenance. By following the checklist, you can achieve a professional look that lasts.
For professional painting services, contact Custom Painting, Inc. at 925-294-8062 or fill out our Contact Form. We are here to help with all your painting needs.
