
If you live in the Dublin, Livermore, San Ramon, Pleasanton and surrounding areas and are expecting a new baby then planning for a nursery is probably on your to-do list. Creating a cozy and charming nursery is one of the most exciting parts of preparing for a new baby. Adding decorative painting and stencils to your nursery walls is a simple and creative way to personalize the space. With various designs and colors, stencils can transform plain walls into whimsical, themed environments that stimulate and soothe your baby.
In this article, we’ll guide you through the process of selecting and applying stencils, ensuring your nursery becomes a delightful and unique haven for your little one. You can also reach out to our professionals as well for assistance.
Choosing the Right Stencils
Selecting the perfect stencils for your nursery can make a big difference in the overall look and feel of the room. Here’s what you need to know to make the best choice for your baby’s space.
Types of Stencils Available
When it comes to nursery stencils, there are plenty of options to choose from. Some of the most popular types include:
- Animals: From cute woodland creatures to exotic safari animals, animal stencils can bring a touch of nature and playfulness to your nursery.
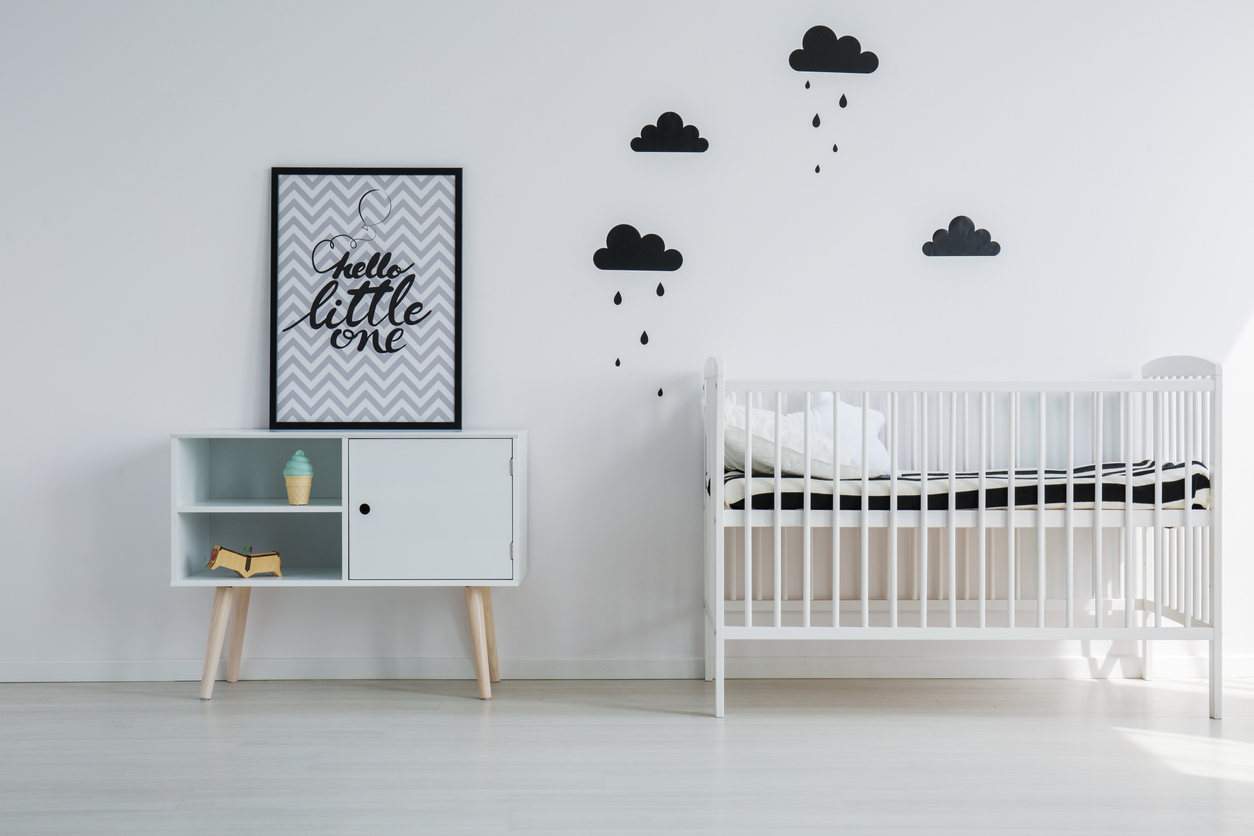
- Shapes: Simple shapes like stars, hearts, and clouds can add a whimsical and charming touch to the walls.
- Letters: Alphabet stencils are perfect for personalizing the nursery with your baby’s name or creating educational wall art.
Factors to Consider
When choosing stencils, consider the following factors to ensure they fit perfectly with your nursery’s design:
- Theme: Align your stencil choice with the overall theme of the nursery. Whether it’s a jungle, ocean, or fairy tale theme, select stencils that complement the decor.
- Size: The size of the stencils should match the scale of the room and the area you plan to decorate. Larger stencils can make a bold statement on a feature wall, while smaller stencils are great for adding subtle details.
- Complexity: Consider the level of detail in the stencil design. More intricate stencils might require extra time and patience to apply but can result in a stunning, detailed look.

Popular Nursery Stencil Designs
Some nursery stencil designs have become favorites among parents for their timeless appeal and versatility:
- Nature Scenes: Trees, flowers, and butterflies can create a serene and enchanting environment.
- Fairy Tales: Castles, unicorns, and magical creatures bring a touch of fantasy and wonder.
- Adventure Themes: Hot air balloons, airplanes, and rockets can inspire dreams of exploration and adventure.
Choosing the right stencils allows you to create a nursery that’s not only beautiful but also uniquely tailored to your baby’s first home.
Materials and Tools Needed
Creating a beautifully stenciled nursery requires the right materials and tools. Here’s a comprehensive list to help you get started and ensure your stenciling project is a success.
List of Essential Materials
To begin, gather these essential materials:
- Paint: Choose high-quality, non-toxic paint suitable for nursery walls. You may need different colors depending on your stencil design.
- Brushes: Small, medium, and large brushes will help you cover various stencil sizes and details. Foam brushes are also a good option for smooth application.
- Painter’s Tape: Use painter’s tape to secure stencils to the wall and protect areas you don’t want to paint.
- Stencil: Select stencils based on your chosen designs and themes.
- Drop Cloths: Protect the floor and furniture from paint splatters.
- Paint Tray: A paint tray is essential for holding and mixing your paint.
Recommended Tools for Precision
For a professional-looking finish, these tools will help you achieve precision:
- Stencil Brushes: Specially designed for stenciling, these brushes have short, firm bristles that make it easier to apply paint without it bleeding under the stencil.
- Level: Ensure your stencil designs are straight and even with a level.
- Stencil Adhesive Spray: This spray helps keep the stencil in place without leaving residue, making it easier to achieve crisp lines.
- Detail Brushes: For intricate designs, detail brushes allow you to paint small, delicate areas with accuracy.
- Craft Knife: Useful for cutting out intricate stencil designs or making adjustments.
Preparing the Nursery for Stenciling
Proper preparation is key to a smooth stenciling process and a flawless finish:
- Clean the Walls: Ensure the walls are clean and free of dust or grease. A mild soap and water solution usually does the trick. Allow the walls to dry completely before starting.
- Patch and Sand: Fill any holes or imperfections with spackle and sand them smooth. This will create an even surface for your stenciling.
- Apply Base Paint: If you’re painting the walls a new color, do this before starting your stencil work. Allow the base coat to dry completely.
- Protect the Area: Lay down drop cloths to cover the floor and tape off edges, moldings, and furniture to avoid accidental paint splatters.
- Mark Placement: Plan and lightly mark where each stencil will go. Use a level to ensure the stencil is straight, and tape it in place securely.
By gathering the right materials and tools and preparing your nursery properly, you’ll set yourself up for a successful stenciling project that will enhance the beauty and charm of your baby’s room.
Step-by-Step Stenciling Guide
Stenciling your nursery can be a fun and rewarding project. Follow these steps to ensure your stenciling looks professional and lasts.
Prepping the Walls
- Cleaning: Start by thoroughly cleaning the walls with a mild soap and water solution. Remove any dirt, dust, or grease to ensure the paint adheres well. Let the walls dry completely.
- Priming: If the walls are new or have a dark color, apply a primer to create an even base. This will help the stencil colors pop and provide a smooth surface for painting. Allow the primer to dry fully.
Positioning the Stencils
- Planning: Plan your design layout. Use a pencil to mark the wall where each stencil will go lightly. Ensure the marks are level and evenly spaced.
- Securing: Tape the stencil to the wall using painter’s tape. If you’re using a stencil adhesive spray, apply it to the back of the stencil and press it firmly onto the wall. This will help prevent paint from bleeding underneath.
Techniques for Applying Paint Evenly
- Loading the Brush: Dip your stencil brush or foam brush into the paint and then blot off the excess onto a paper towel or a piece of cardboard. The brush should be almost dry to avoid paint seeping under the stencil.
- Stippling: Use a stippling motion (a gentle up-and-down tapping) to apply the paint. This technique helps control the amount of paint being applied and reduces the risk of smudging.
- Layering: Apply the paint in thin layers. It’s better to build up the color gradually with several light coats rather than one heavy coat, which can cause bleeding and uneven edges.
Removing the Stencils Without Smudging
- Drying Time: Allow the paint to dry slightly before removing the stencil. It should be dry to the touch but not completely dry, which helps prevent the paint from pulling away with the stencil.
- Peeling Off: Carefully peel off the stencil, starting from one corner and moving slowly to avoid smudging. If using painter’s tape, remove it at a 45-degree angle for a cleaner edge.
- Touch-Ups: After removing the stencil, use a small detail brush to fix any imperfections or smudges. This will give your design a crisp, polished look.
By following these steps, you’ll achieve a beautifully stenciled nursery that adds a personalized and artistic touch to your baby’s room.
Creative Ideas for Stencils
Stencils offer endless possibilities for adding unique touches to your nursery. Here are some creative ideas to inspire your stenciling project.
Creating a Feature Wall
A feature wall can serve as the focal point of the nursery, drawing attention and setting the tone for the room’s decor.
- Bold Patterns: Use large stencils with bold patterns, such as geometric shapes, floral designs, or animal motifs, to create a striking feature wall.
- Themed Scenes: Create a mural-like effect with stencils that depict a scene, such as a jungle with various animals, an underwater world, or a fairytale forest.
- Ombre Effects: Experiment with gradient colors to create an ombre effect using stencils. This can add depth and a modern touch to the nursery.
Combining Stencils with Other Decorative Elements
Enhance the stenciled designs by integrating other decorative elements.
- Wall Decals: Mix and match stencils with wall decals for a dynamic look. For example, use stencils for background patterns and decals for characters or objects.
- Wallpaper Borders: Combine stenciled designs with wallpaper borders to frame the artwork and give it a finished look.
- 3D Elements: Add three-dimensional elements like wooden letters, fabric flowers, or framed artwork to complement the stenciled patterns and add texture.
Customizing with Names or Quotes
Personalizing the nursery with your baby’s name or favorite quotes adds a special touch.
- Name Designs: Use letter stencils to spell out your baby’s name on the wall. Add decorative elements like stars, hearts, or animals around the name for a customized look.
- Inspirational Quotes: Choose a meaningful quote or phrase and stencil it onto the wall. This can be a sweet lullaby line, a motivational quote, or a special message for your baby.
- Growth Charts: Create a stenciled growth chart with your child’s name at the top. Mark milestones and measurements as they grow.
Using Stencils on Furniture or Accessories
Stencils aren’t just for walls; they can also be used to decorate furniture and accessories, adding a cohesive look to the nursery.
- Furniture: Stencil designs onto dressers, cribs, or bookshelves. For example, add a row of stenciled animals to the front of a dresser drawer or decorate the side of a crib with a whimsical pattern.
- Accessories: Use stencils on lampshades, toy boxes, or picture frames. This can tie together the room’s theme and create a more unified decor.
- Textiles: Stencil designs onto curtains, pillows, or blankets. Fabric paint and stencils can turn plain textiles into custom pieces that match the nursery’s theme.
These creative ideas for stencils will help you design a nursery that is not only visually appealing but also uniquely tailored to your baby’s personality and the overall decor of the room.
Tips and Tricks for a Professional Finish
Achieving a professional finish with your stenciling project involves careful attention to detail and a few handy techniques. Here are some tips to help you avoid common pitfalls and ensure your nursery looks polished and beautiful.
Avoiding Common Mistakes
1. Preventing Bleeding:
- Less Paint: Use a minimal amount of paint on your brush or roller. Blot off excess paint before applying it to the stencil.
- Stenciling Technique: Apply paint using a stippling or dabbing motion rather than brushing back and forth. This helps prevent paint from seeping under the stencil edges.
- Stencil Adhesive: Use a stencil adhesive spray to secure the stencil to the wall, ensuring it stays flat and in place during painting.
2. Ensuring Proper Alignment:
- Level and Measure: Use a level and measuring tape to ensure your stencil is straight and evenly spaced. Lightly mark guidelines on the wall with a pencil.
- Reposition Carefully: If you need to reposition the stencil, remove it gently to avoid smudging the paint. Re-align it using your guidelines before continuing.
Touch-Up Techniques
1. Fixing Smudges and Bleeds:
- Small Brushes: Keep small detail brushes on hand for touch-ups. Use them to carefully paint over any areas where the paint has bled or smudged.
- Matching Paint: Have some of your wall paint (base color) available for touch-ups. Use it to clean up edges or cover any mistakes.
2. Smoothing Edges:
- Fine Sandpaper: If the edges of your stencil design are rough, wait until the paint is dry, then gently sand the edges with fine-grit sandpaper.
- Sharp Craft Knife: Use a sharp craft knife to clean up any jagged edges or remove small mistakes once the paint is dry.
Sealing the Stenciled Area for Durability
1. Choosing a Sealer:
- Clear Coat: Use a clear, water-based polyurethane or acrylic sealer to protect your stenciled design. This will help prevent chipping and make it easier to clean.
- Finish Options: Select a finish that matches your desired look—matte, satin, or glossy.
2. Applying the Sealer:
- Light Coats: Apply the sealer in light, even coats. Use a clean brush or a foam roller for smooth application.
- Drying Time: Allow each coat to dry completely before applying the next one. Follow the manufacturer’s instructions for the best results.
3. Cleaning and Maintenance:
- Gentle Cleaning: Once sealed, the stenciled area can be cleaned with a soft, damp cloth. Avoid using harsh chemicals or abrasive cleaners that could damage the finish.
By following these tips and tricks, you’ll achieve a professional-looking stencil design in your nursery that is durable, beautifully finished, and free from common mistakes.
Final Thoughts
Adding stencils to your nursery is a wonderful way to personalize the space and create a magical environment for your baby. By choosing the right stencils, using the proper materials and techniques, and incorporating creative ideas, you can achieve a professional and unique look. If you need help or want to ensure a perfect finish for your Pleasanton nursery, contact Custom Painting, Inc. at 925-294-8062 or via our contact form. We’re here to bring your vision to life!
